By Guest Blogger Sandy Harper
I love making these bracelets because it takes me back to the summers of my youth. Where I enjoyed the easy pace of the season, spent time with friends and made bracelets much like this one.
When I got the notion to try to make these now, to share with my son, I had a little difficulty remembering how to go about it. I decided to scroll through Pinterest for assistance. When I finally found the type of bracelets I had been looking for, I discovered the instructions to be a bit confusing. Granted, I had a toddler hanging on me trying to “help”. I decided to enlist the assistance of a good friend and she helped me over my bracelet making hurtle.
My goal here is to show you how to make one of these bracelets yourself, as clearly and confusing-free as possible.
First you need to take knit fabric and cut it into 1” wide strips. The length you need will vary as to how big you want the bracelet (in terms of your wrist size). I started with a length of about 58” (per strip) and checked the size as I went along.
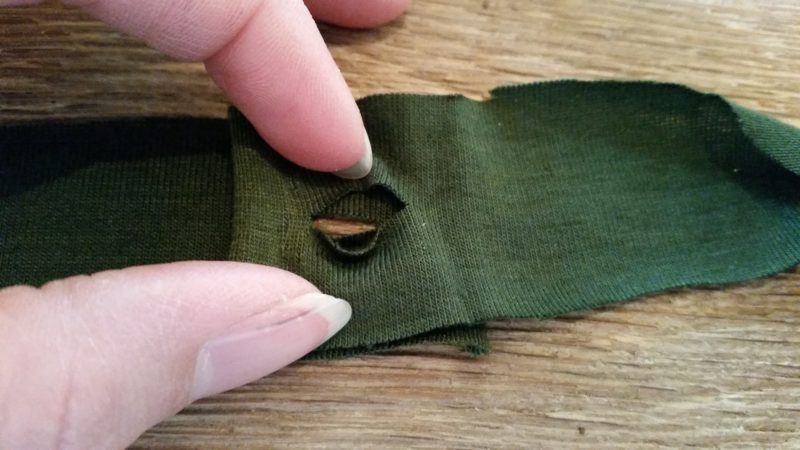
At one end of each strip cut a small slit (about ¼” long) and then place the slits on top of each other as the picture shows. (see pic)
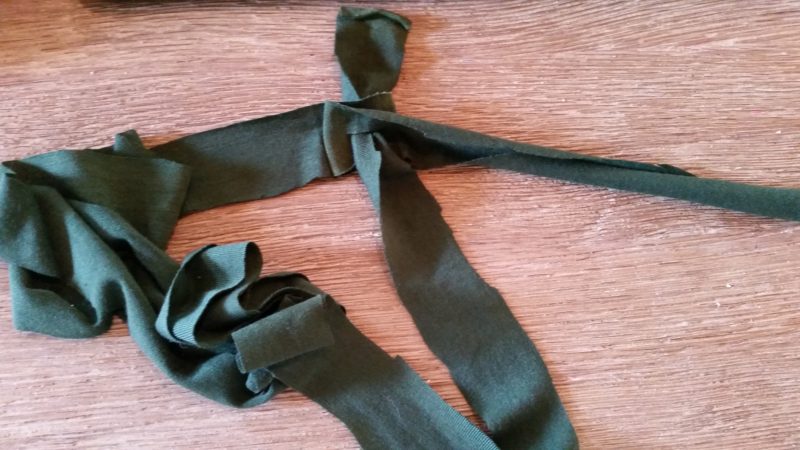
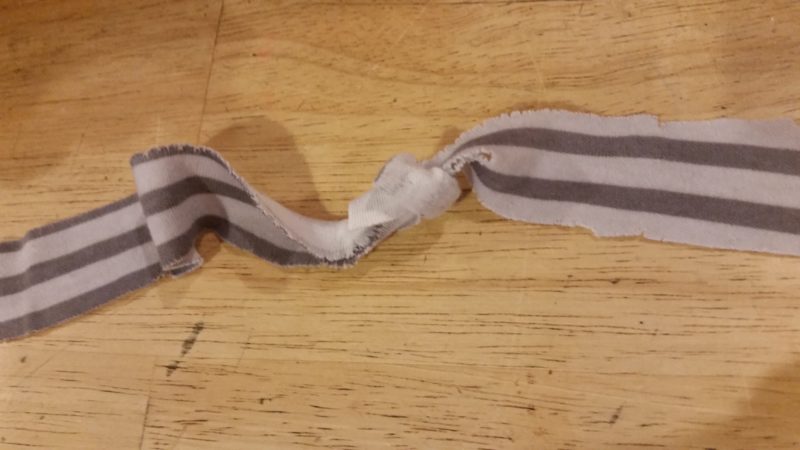
Take the tail end of the strip that is lying below the other and string it through the top of both holes and pull; this will form a knot. Now you have one long piece of strip that you will be working with. (see pics)
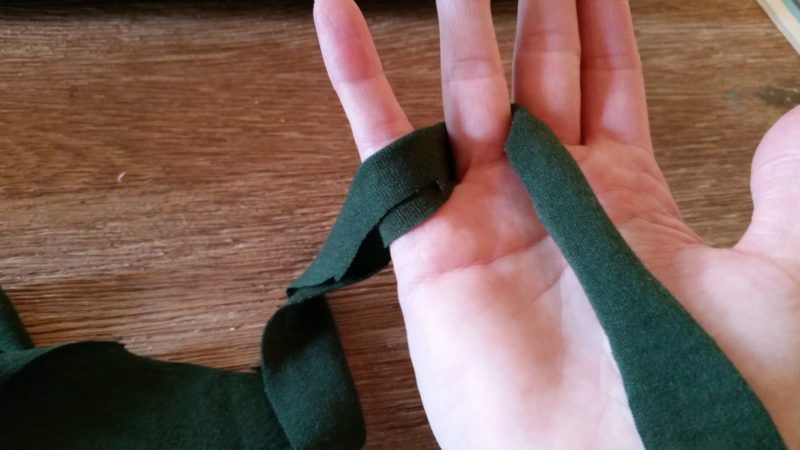
Place one end of your long strip in the palm of your right hand (you can switch hands if you feel more comfortable the other direction). Make sure you leave a short tail in which you will use to tie the bracelet together at the end. Wrap the strip behind your ring finger and then bring it in front of your pinky. Then wrap the strip behind your pinky and in front of your ring finger. Then take the strip and loop it around both fingers, from back to front. (see pics)
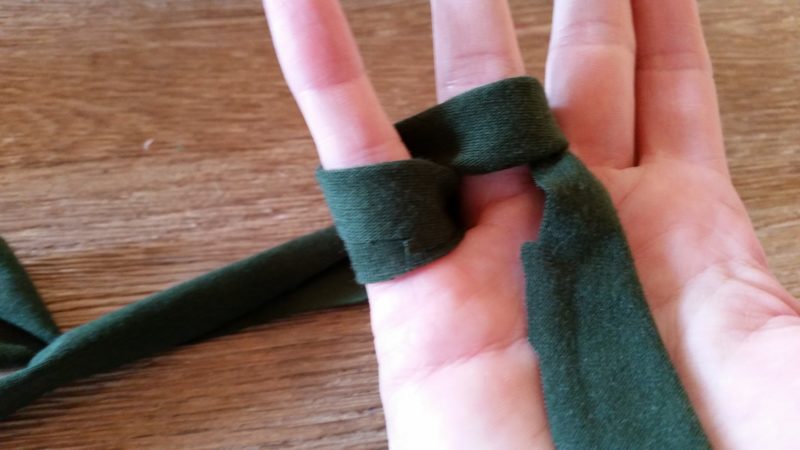
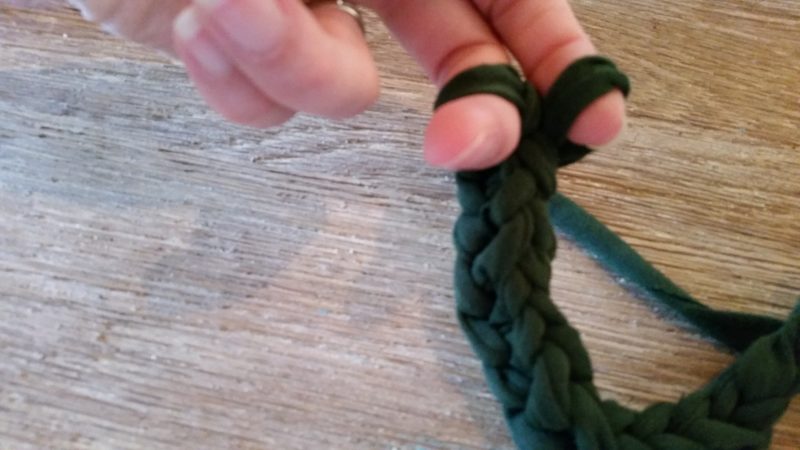
Now take the bottom loop on your pinky and lift it over the top piece of fabric and over your pinky. Do the same to the ring finger. You have just made the first chain of your bracelet. (see pic)
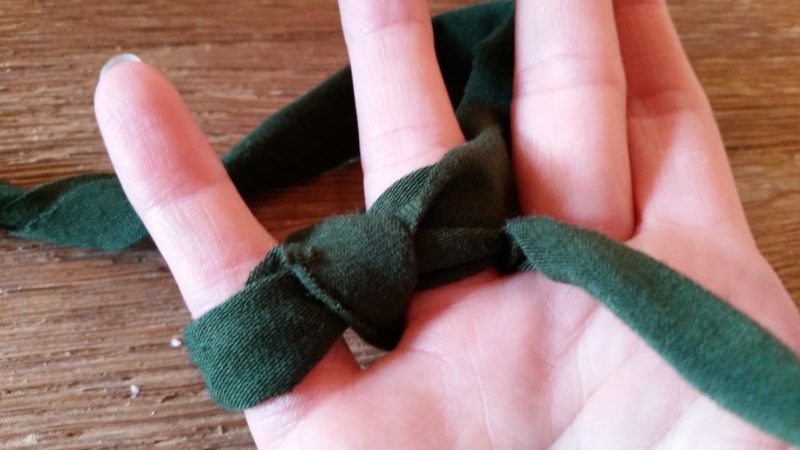
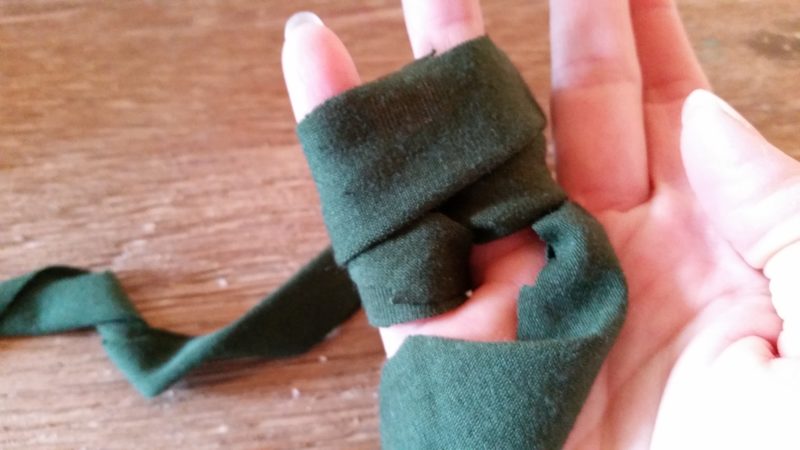
Continue the pattern of wrapping a loop around your ring and pinky fingers and lifting the bottom loop up and over each finger. You will begin to see your bracelet form and grow. (see pic)

Remember to keep checking the length of your bracelet because you most likely will not need to use the entire length of cloth to make a bracelet that fits; especially if it is for a child.
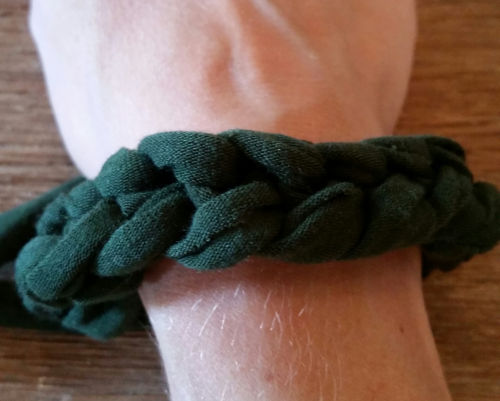
When you have reached the desired length, carefully pull the loops off of your two fingers. Hold the loops together and pull the “tail” of extra cloth through the loops to create a knot. Then you can tie the two “tails” together to connect your bracelet into a loop. (see pics)
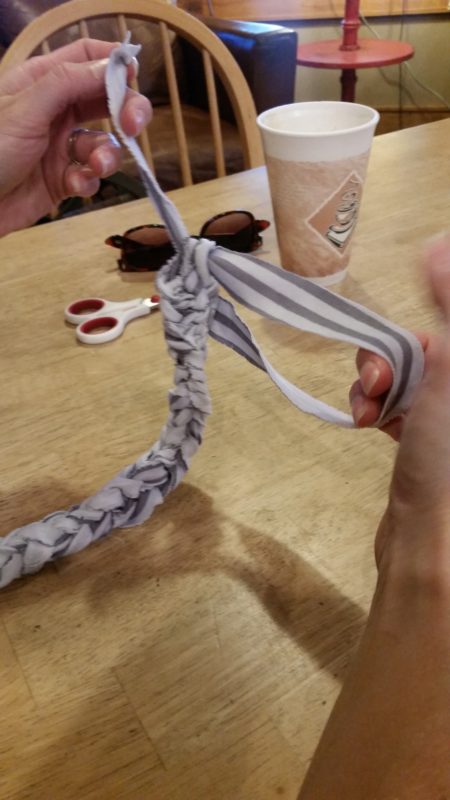
Cut off the excess pieces of cloth and you’re done! Great job! Now you can enjoy a little piece of your childhood while sharing it with your own children.