By Guest Bloggers Sandy Harper and Nicole Ebright
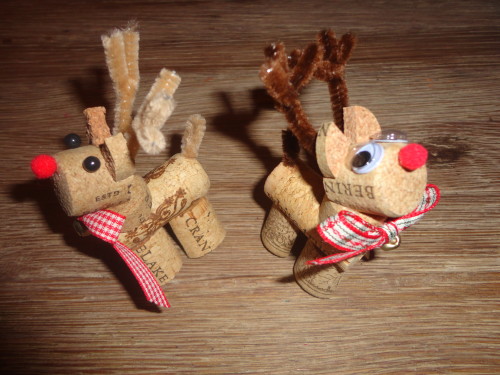
While enjoying holiday parties, you may notice there is typically a bottle of wine or two open. Make sure the wine corks don’t go in the trash! You can use them to make an ornament. My good friend Nicole and I had a lot of fun making these adorable reindeer cork ornaments with left over wine corks. It may seem like a tough craft but we promise once you make one, the next one will be easier. Are you ready to make your reindeer ornament?
Materials needed:
– 3 Wine corks (real not the new synthetic type)
– Glue
– 2-Sided ribbon (cut to about 9 ½” long)
– 1 brown or tan pipe cleaner
– Goggle eyes
-1 map pin
– 1 screw hook
– String for hanging (cut to about 10” long)
– 1 small red pompom
– Small piece of thread and small bell
– 5 head pins (with head cut off)- Not completely necessary but helps to hold cork pieces together while glue dries (Side note: in a pinch, toothpicks could work instead, they’re just not as easy to push through the cork)
Steps:
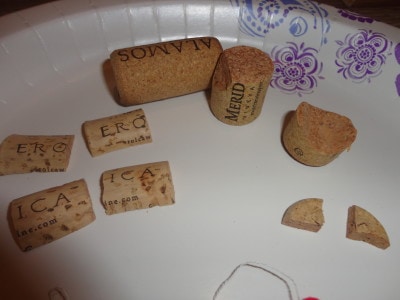
~ Start by cutting the corks into the sizes needed. One cork will be left whole to use as the reindeer body. The second cork will be cut into 2 pieces; one piece being ¾ in size, leaving the other ¼ in size. These two pieces will be used for the neck and head. On the ¼ size piece cut out a groove so that it sits on the body flush; this is the neck piece. Then slice an edge off the ¾ size piece (head piece) so that it rests flush on the neck piece. Finally, take the third cork and cut it in half then cut those two pieces in half. These will be the leg pieces. (Side note: We trimmed these pieces a bit to make slimmer legs) We used some of the trimmed pieces to make the two small ears.
~ Now that we have our materials and cork pieces cut, let’s get to assembling. We can start by attaching the legs to the body.
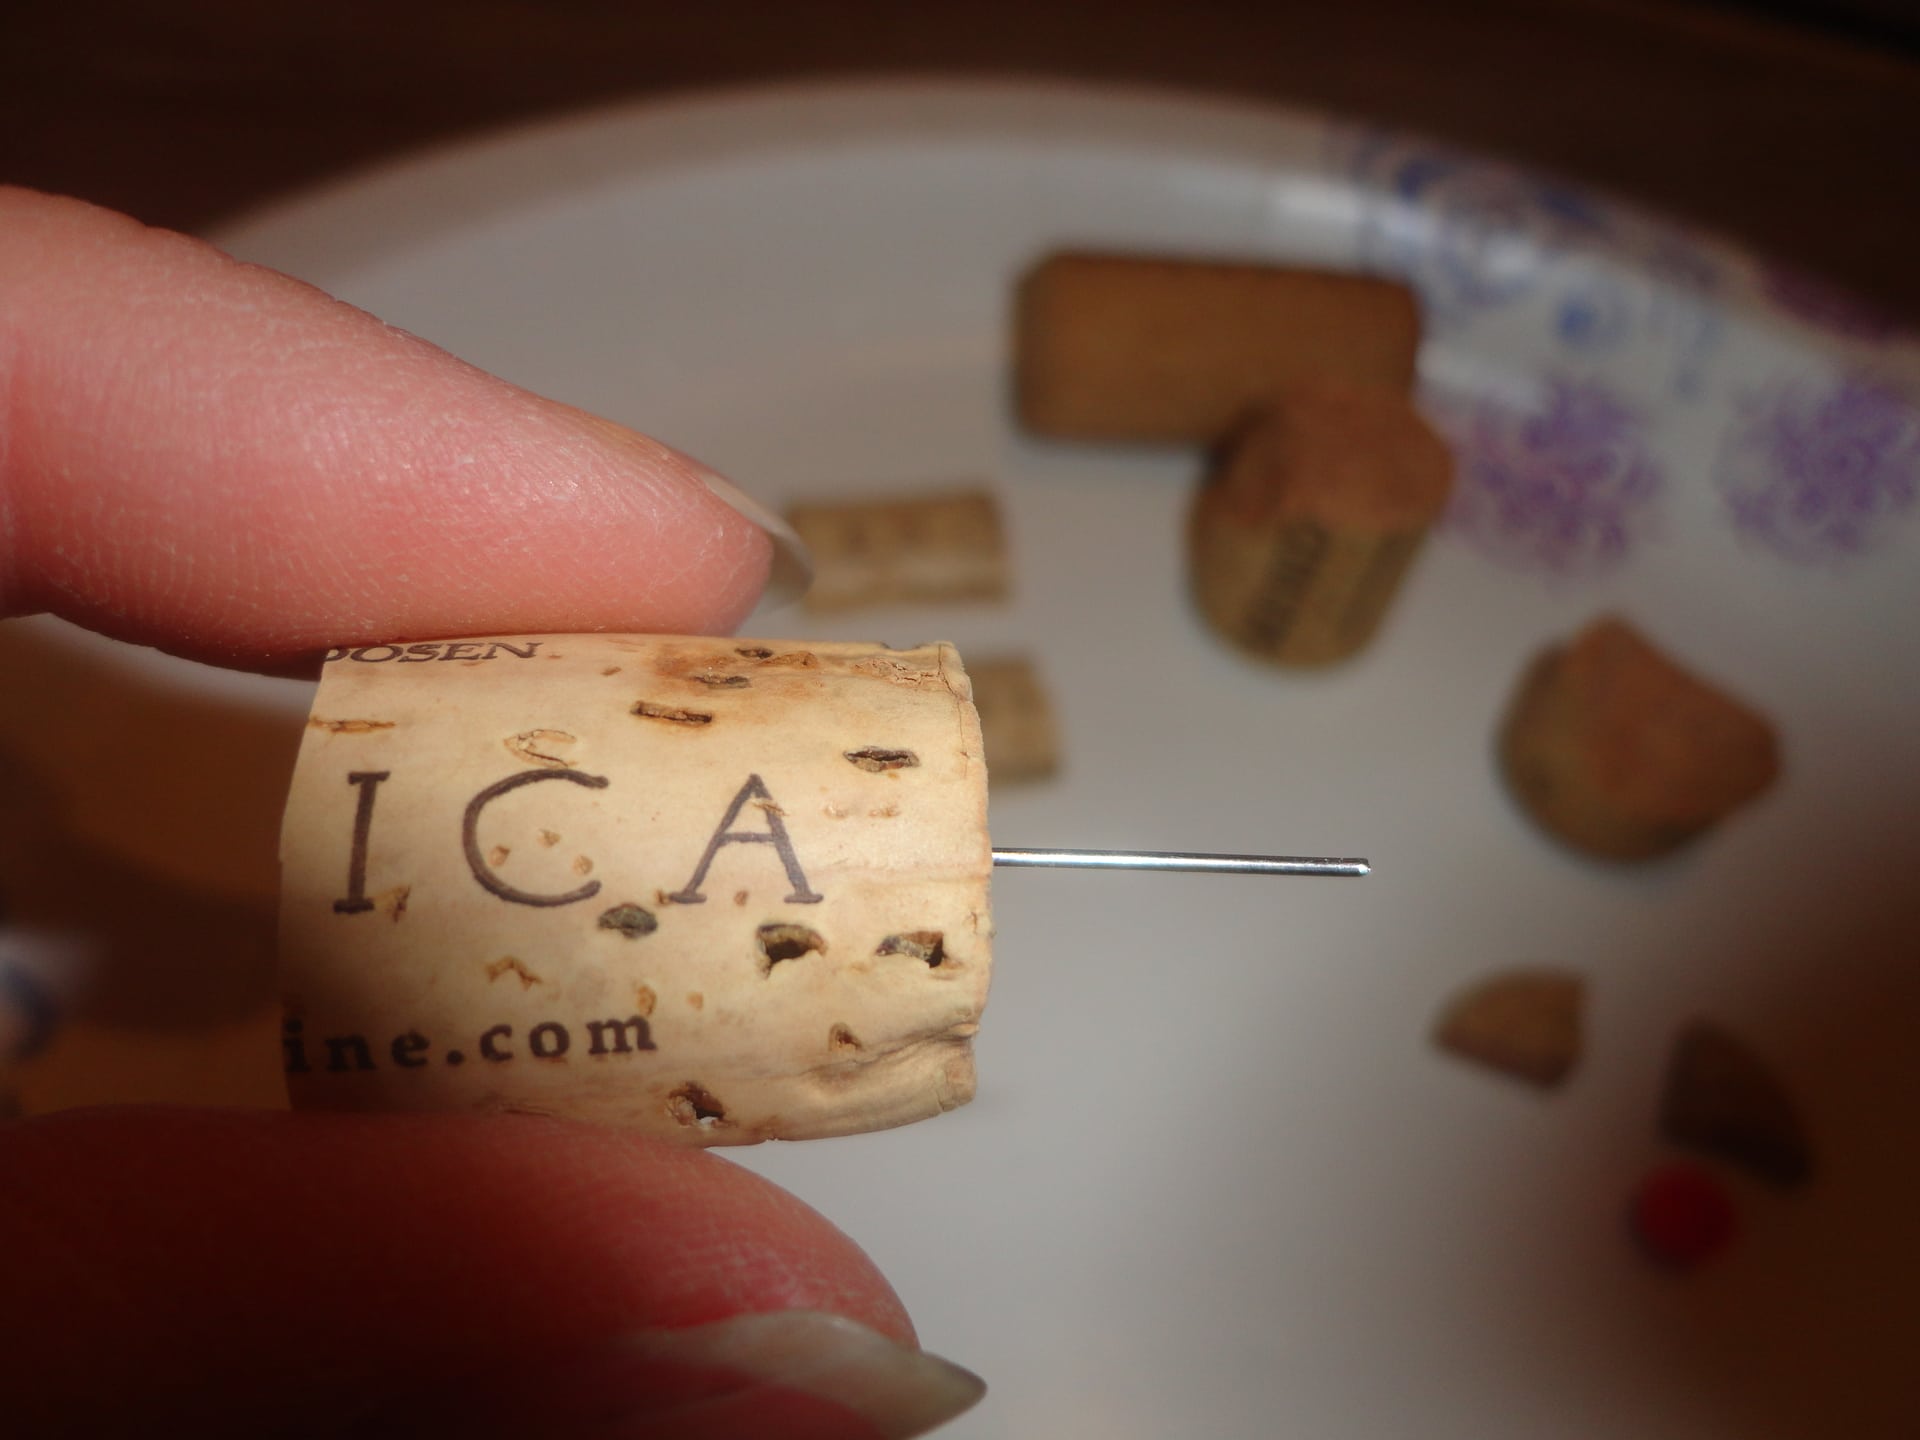
~ Insert the jewelry pins into the legs but leave excess sticking out so you can insert it into the body. Before attaching to the body add glue around the area to give it extra holding power. Do this with all four legs.

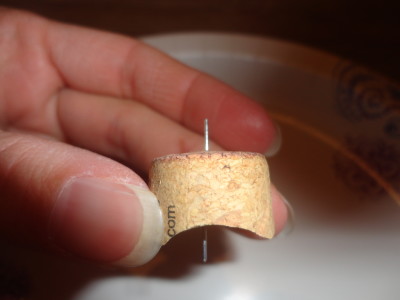
~ Time to attach the neck (1/4 size piece) and head piece (3/4 size piece). Take your last jewelry pin and stick it into the neck piece so that you have excess sticking out of the top and bottom. (See pic below) Add glue to the bottom side (the side with groove cut out) and attach it to the body. Now add glue to the top side and attach the head piece, the side where you sliced an edge off.
~ You can now set the reindeer aside for a few minutes to let the glue dry and give your hands a break! It’s a perfect bathroom or coffee break time.
~ Okay have a seat, let’s get back to it.
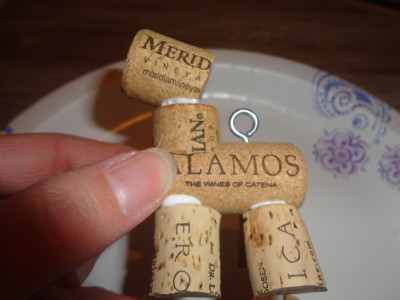
~ Take the screw hook and insert it (by screwing it in) into the reindeer body. We suggest placing it right behind the neck.
~ We decided that making the antlers was the next task at hand. Bend the pipe cleaner into a V-shape until you get the height that you like and then cut. Cut off two smaller pieces of the pipe cleaner and twist them around the tops of each V tip to form antlers.

~ Put a little glue on the bottom tip of the V and place it on the back of the head. We added the map pin to the bottom of the V to help hold it in place.

~ For the tail, cut another piece of pipe cleaner, fold in half and twist together. Trim some of the fuzz off the bottom of the wire so that it inserts easily into the body. Add some glue to the trimmed area before attaching to the back end of the body piece.
~ If you haven’t already, go ahead and trim two small leftover cork pieces into two triangles; these will be the reindeer’s ears. Glue them to the top of the head piece. We suggest placing them closer to the back so that you have more room for the eyes.
~ For the eyes you can either use goggle eyes or map pins. We chose goggle eyes because we thought it gave the reindeer more character. Glue them onto the head.
~ You are almost done! Now glue on the nose at the front of the head.

~ Take the 2-sided ribbon to make a bow. This took us a few tries before we were happy with our bows, so don’t be upset if it doesn’t look “perfect” on your first try. Use the small piece of string to attach the bell to the bow. We just tied it around the knot of the bow and then trimmed the excess string. It’s best to sit the reindeer on its rear so that it is easier to glue the bow to the front of the neck piece. Let it dry for a few minutes.

~ Finally, pull string or ribbon through the screw hook and make a loop to hang the ornament on your tree.
~ You may now have arthritis or carpel tunnel but you also have a sweet little reindeer ornament that you will admire for holidays to come. Have fun and enjoy!


Finally … a use for all of my corks! 🙂