By TMoM Team Member Brooke Coley
It’s the most wonderful time of the year! A magical month full of festive fun, twinkle lights and Christmas cheer. One special tradition in our home is holiday crafting. As a former elementary school teacher there is nothing that I enjoy more than making these memories with my own children!
When crafting with littles it is important to remember, the messier the better! Which means, let them explore, create, and most importantly PLAY!!! Children learn best through play. Thus, making this the perfect opportunity to explore new textures and smells. You may want to consider working outside. Nature always inspires creativity for our family.
Many times as mamas we avoid crafts with our kids because we worry it won’t look like the picture. However, just go ahead and lower your expectations now. Accept that it won’t look like the picture and that is the beauty of it! Make it your own because crafting is so much more than the finished product. It is memory making. It is ART. More so, it is teaching our children that their creativity is beautiful. Plus, we will hang it up and cherish their work no matter how it turns out!!!
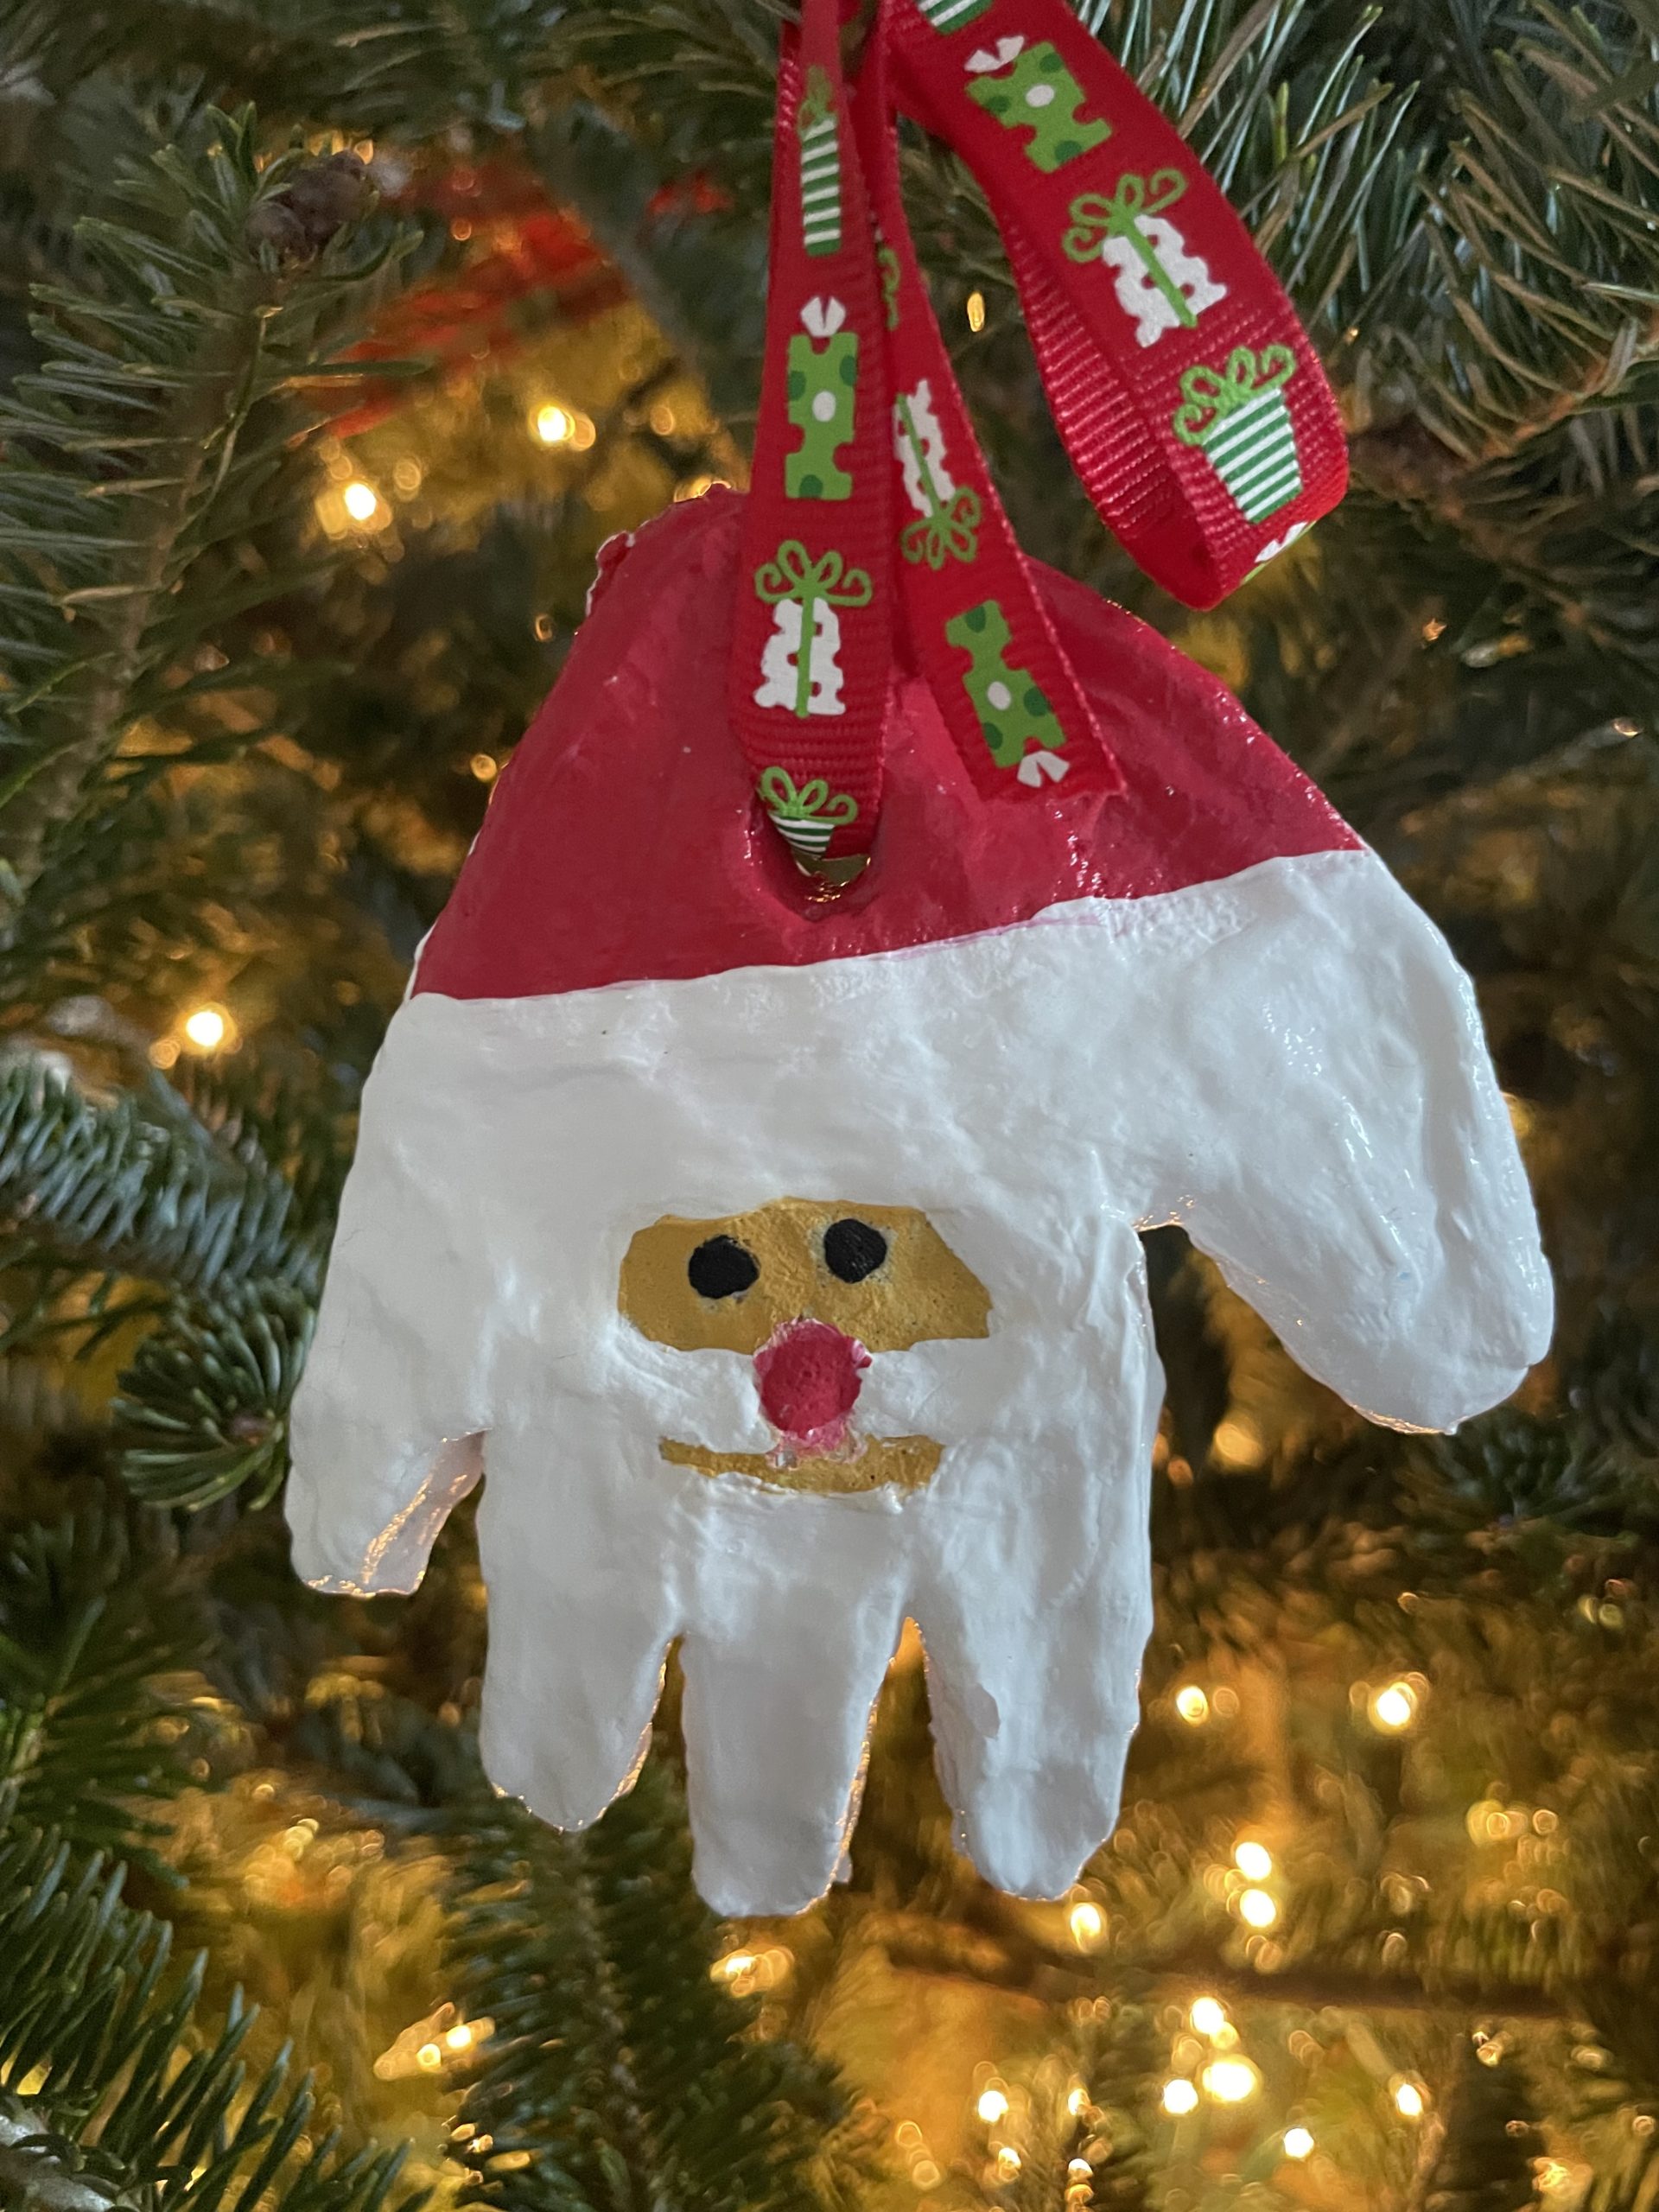
Salt Dough Santa Ornament
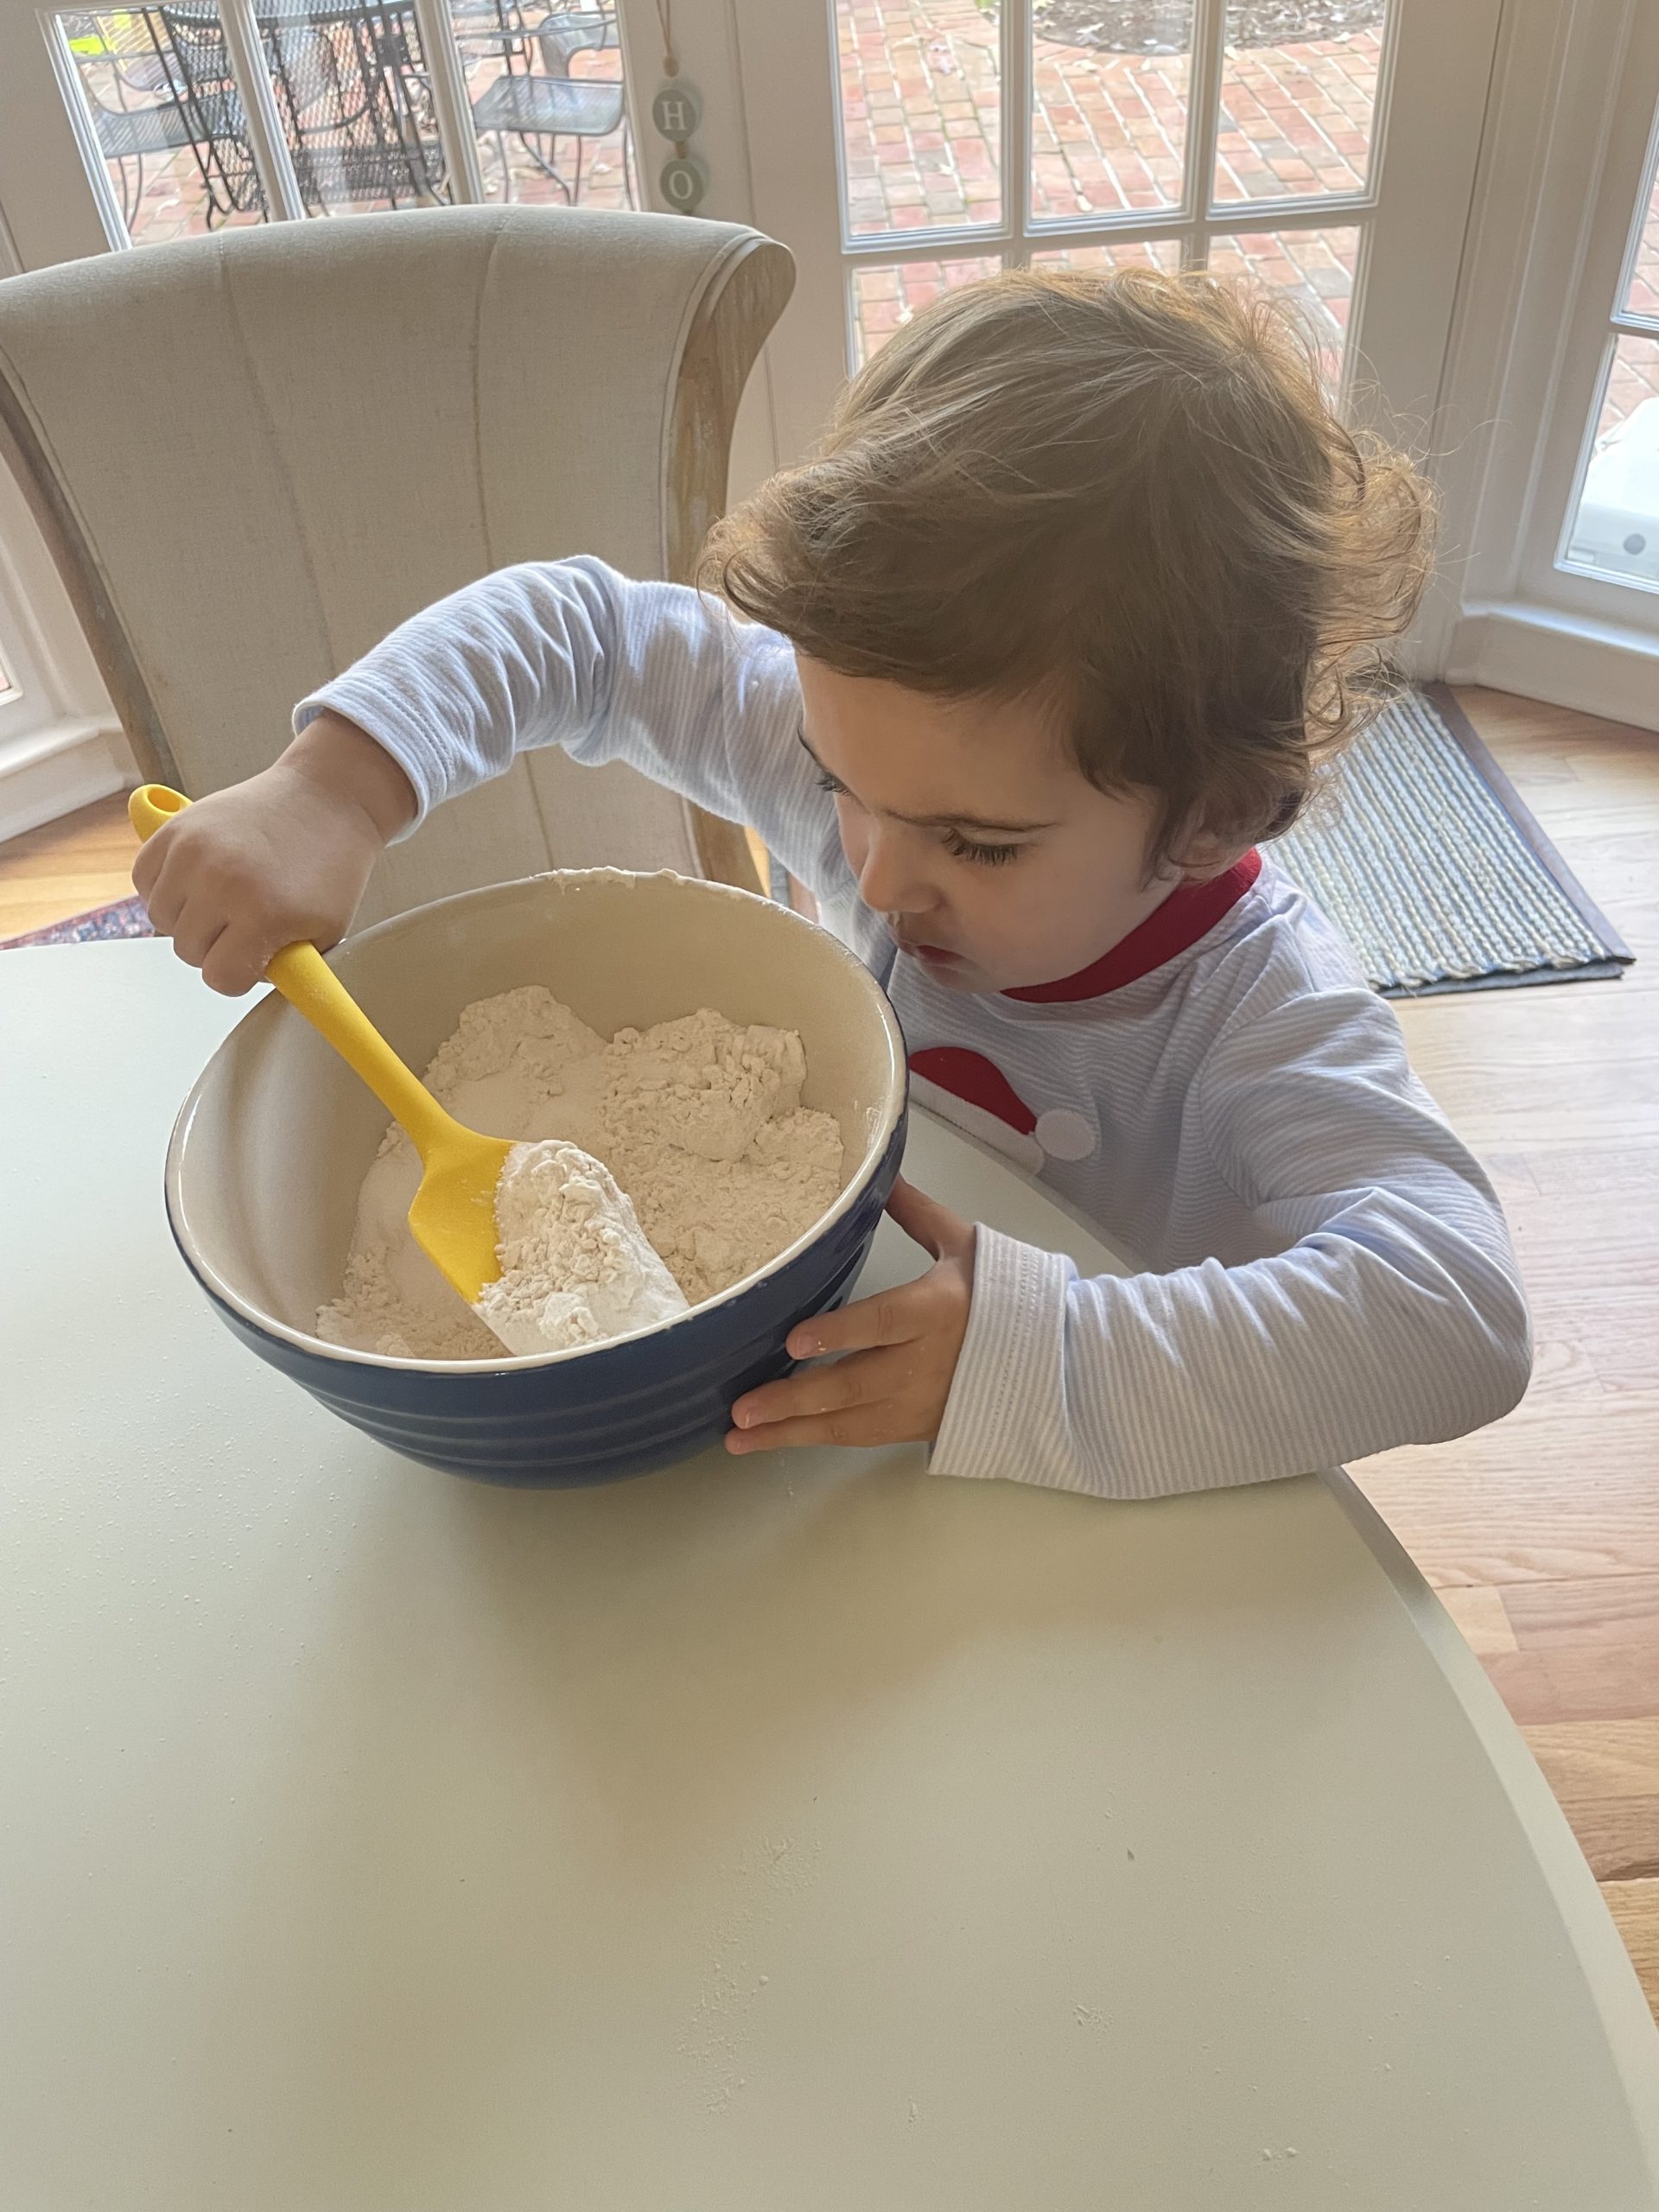
Materials:
- All-purpose flour (2 cups)
- Salt (1 cup)
- Water (up to 1 cup)
- Acrylic paint
- Modge Podge
- Ribbon
- Knife
Instructions to make Salt Dough:
- First, mix flour and salt in a large bowl.
- Add 2 Tbsp. of water (one at a time) mixing well each time.
- Knead the dough with your hands.
- Roll the dough onto a baking tray lined with parchment paper.
- In the meantime, heat the oven to 250 degrees.
- Ask your child to place their hand into the dough.
- Cut around the handprint and then, discard the extra dough.
- Punch a small hole at the bottom of the hand print.
- Bake for 2 hours and lastly, let cool for 2 hours.
Decorating Your Ornament:
- First, paint the ornament.
- Then, apply Modge Podge to both sides of the ornament.
- Next, loop ribbon through the hole and tie in a bow.
- Lastly, hang on the tree!
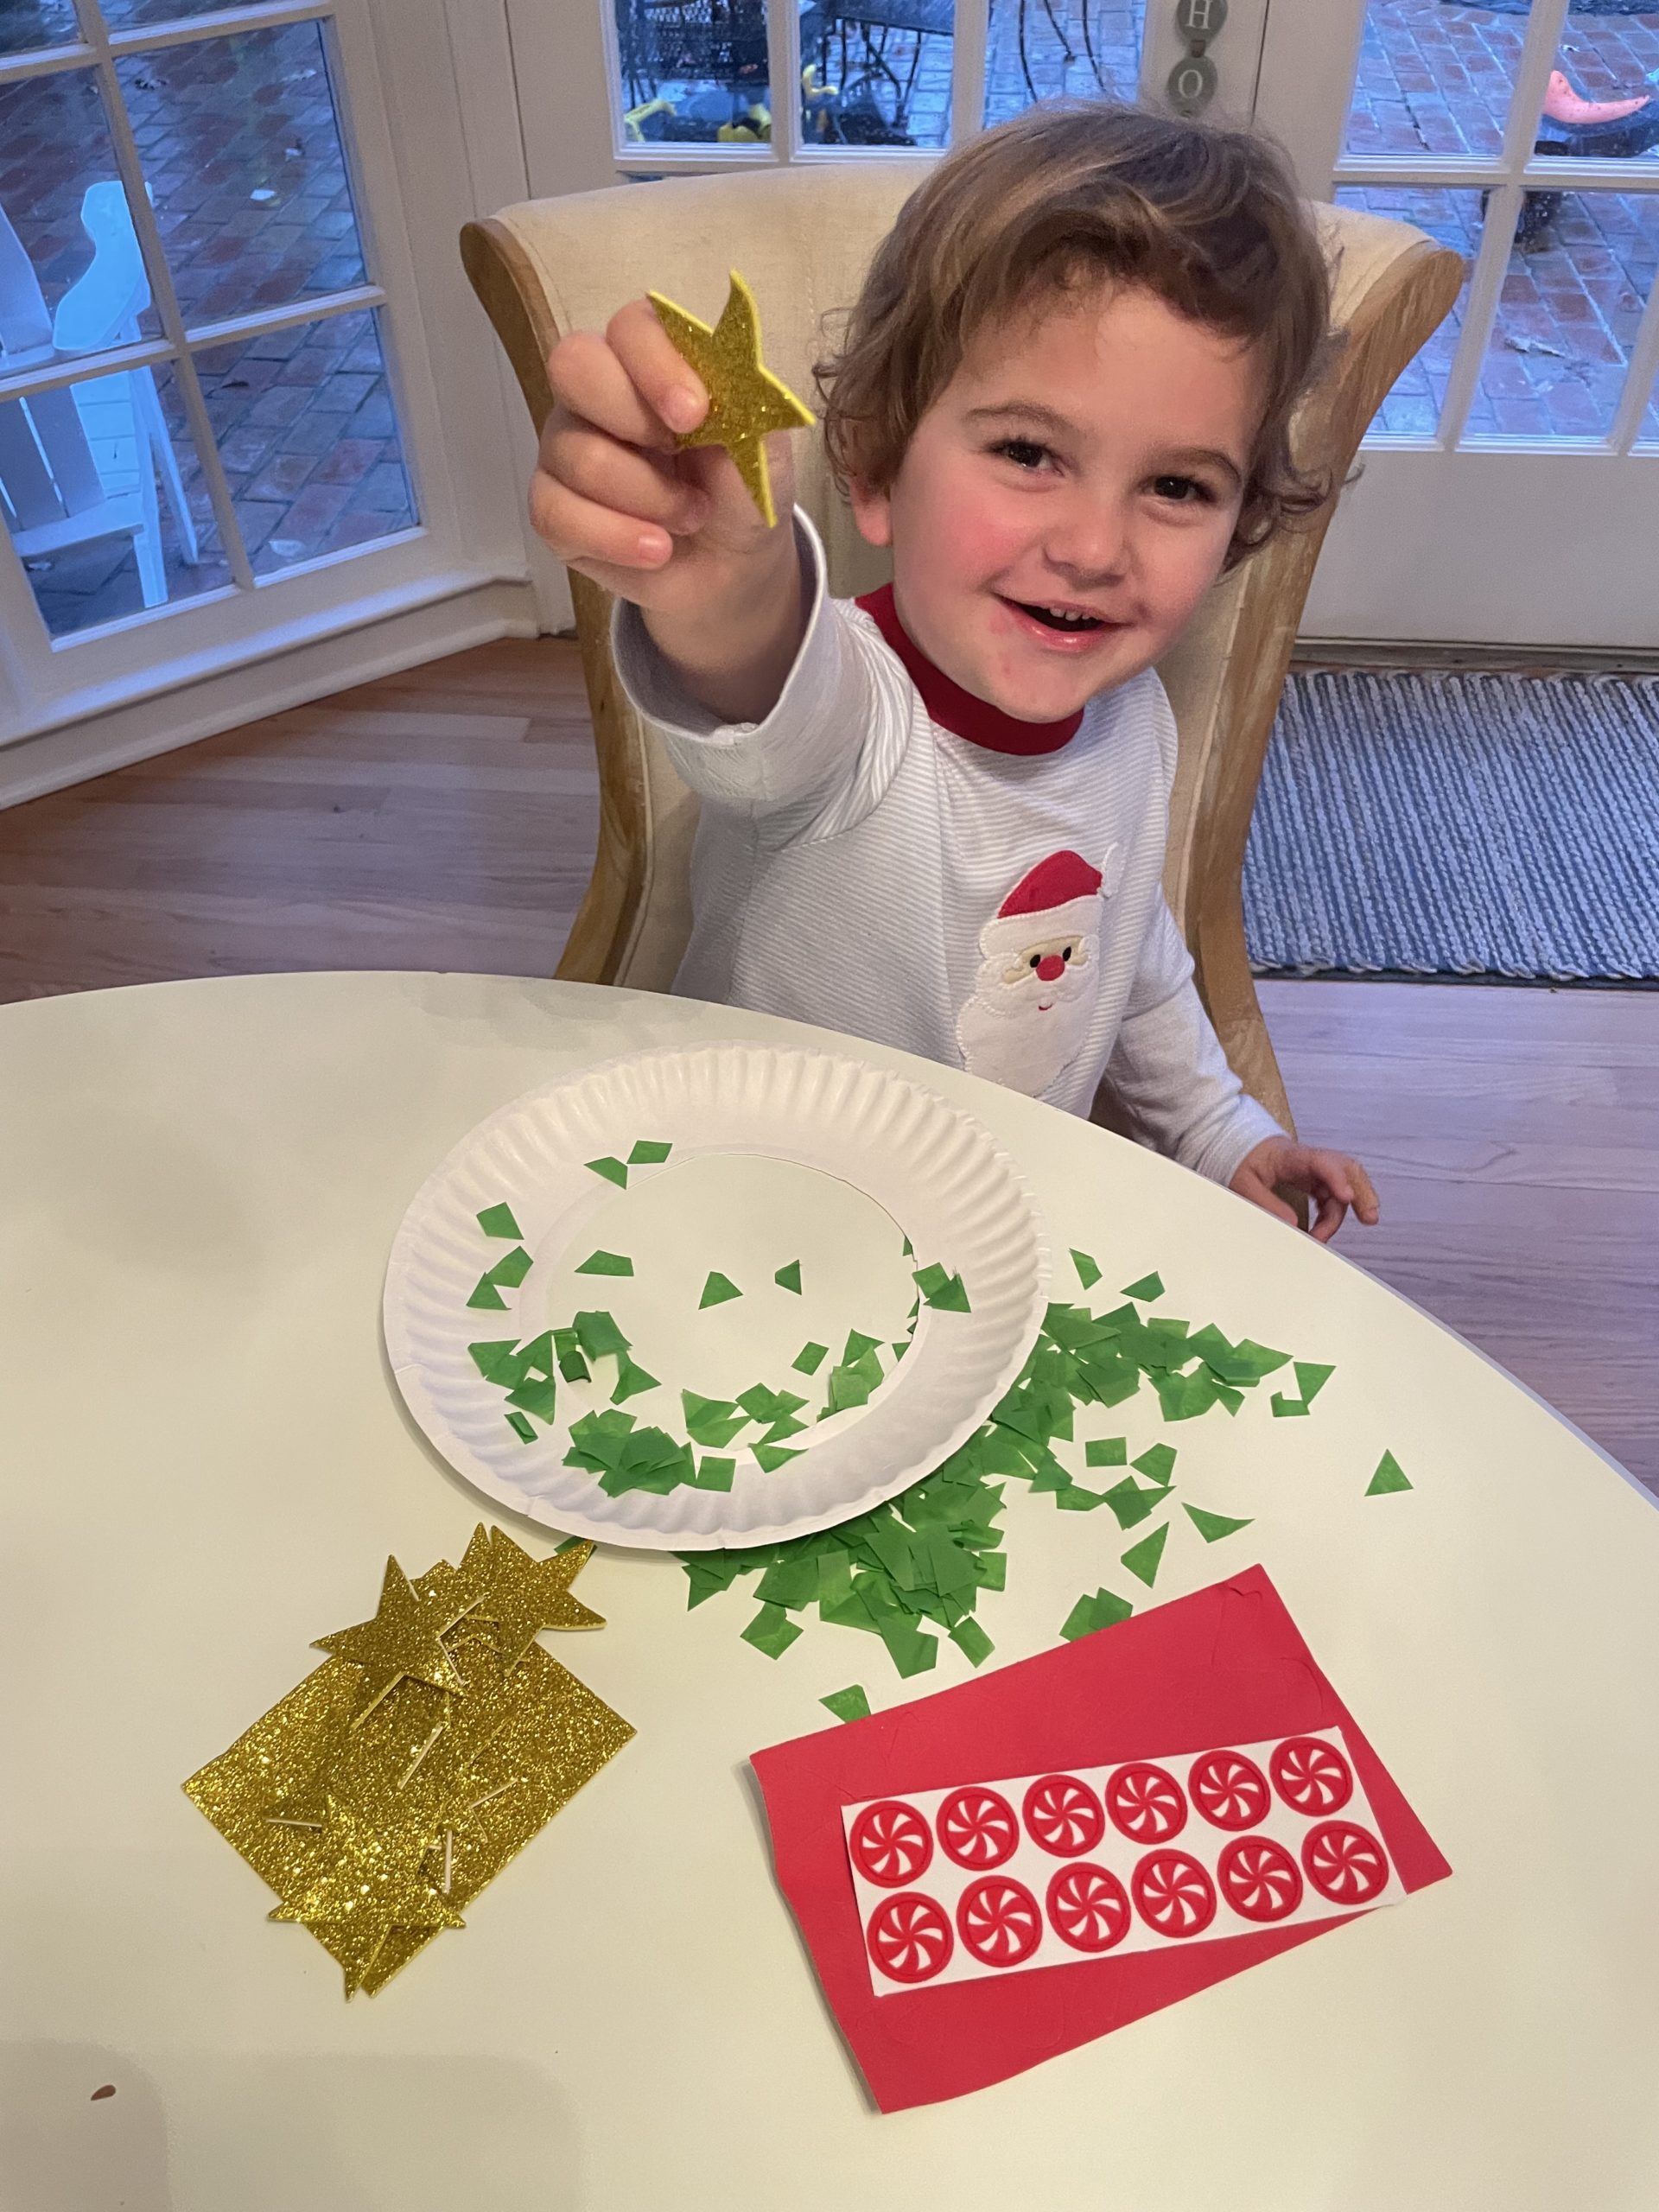
Christmas Wreath
Needed Materials:
- Green tissue paper
- Felt stickers
- Ribbon
- Paper plate
- Glue stick
Wreath Instructions:
- First, cut tissue paper into small pieces.
- Then, cut out the center of one paper plate.
- Thirdly, roll the glue stick all around the paper plate.
- Now, invite your child to sprinkle the tissue paper all over the paper plate.
- Fun part! Choose your favorite felt stickers to decorate your wreath.
- Next, cut 5 inch strip of ribbon and tie in a bow around the top of your wreath.
- Finally, hang it on your child’s bedroom door or gift to a friend!
Make it Your Own:
- You can tweak this craft to make a wreath for almost any holiday, such as Valentines Day, 4th of July, Halloween, etc.
- Write down your child’s 3 favorite colors and then go to the store and find tissue paper in these colors.
- Purchase smaller plates and make mini wreaths for all of your friends.
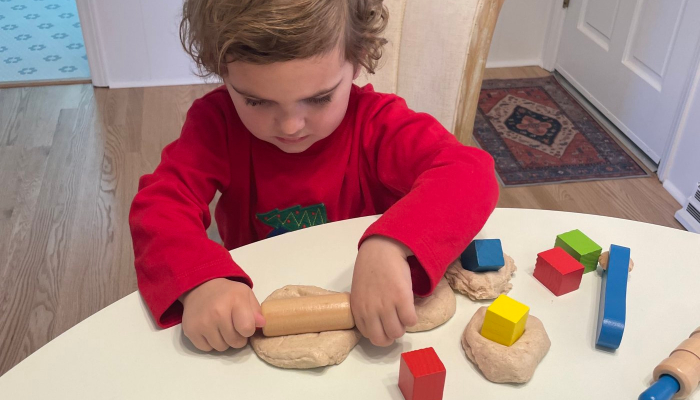
Gingerbread Play Dough
Materials:
- Flour – 1 Cup
- Salt – ½ Cup
- Vegetable oil – 1 Tbsp.
- Ground ginger – ½ Tbsp.
- Ground cinnamon – ½ Tbsp.
- Water – ½ cup
Play Dough Directions:
- First, mix the dry ingredients.
- Then, add oil and slowly add the water.
- Finally, knead the dough until smooth.
At last, breath in that gingerbread goodness! You can pullout kitchen tools, play dough toys, nature treasures, whatever your child loves. Now, let the fun and creativity begin as your child plays with their new holiday play dough!
Do you have any craft traditions that you love to do with the kiddos or the whole family? Share them with the TMoM readers in the comments below. Let all of those holiday craft ideas shine!
Want to see more blogs like this and also get notifications on local events and happenings? Subscribe to our free weekly newsletters here.


Super cute crafts, Brooke!
LOVE all of these ideas! I can’t wait to try them!!
Love these ideas! I’m going to try the salt dough Santa ornament with my kiddos. So fun!
We are so glad you love these ideas! I also want to try the salt dough one with my kiddos!