
Tie Dyeing: Summer Craft Idea
By Guest Blogger Kelly Gunzenhauser
For some reason, no other craft says summer to me like tie-dyeing. Maybe it’s because real shirt dyeing is incredibly messy and I only ever venture to do it outside. These days, my kids are getting older and aren’t always thrilled when I suggest doing a craft together. But tie-dyeing can result in some cool, modern-looking art that kids of all ages will like. The following tie-dye related craft ideas are also great go-to’s when you are entertaining kids of different ages, since even little guys can do them.
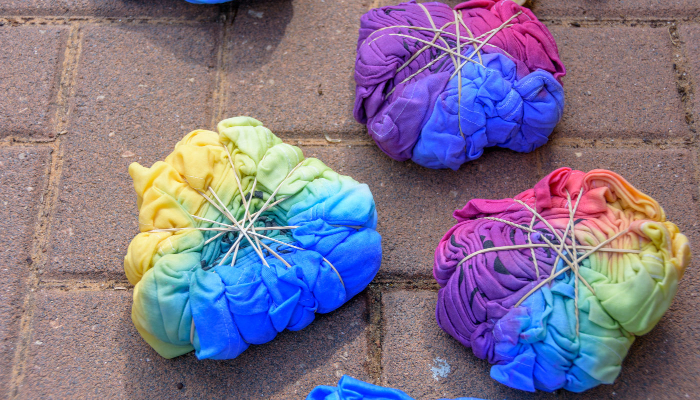
Sharpie Shirt Tie-Dyeing
If you don’t feel like hauling out the coal ash and the gloves and the hugely messy dyes to make typical tie-dyed shirts, here’s a simpler route that scratches that “coloring book for grown-ups” itch.
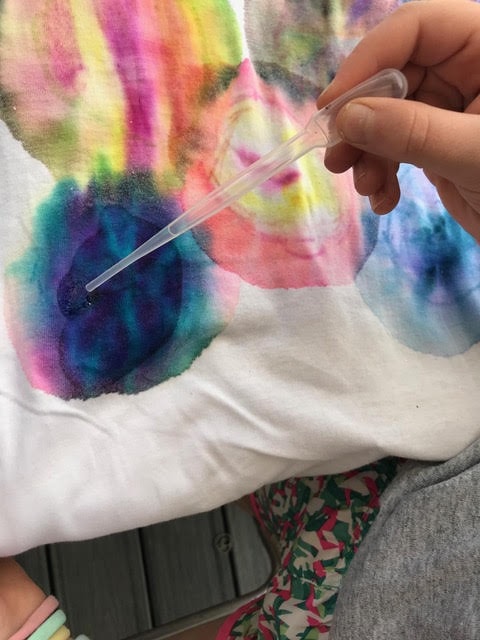
Gather a bunch of Sharpie® permanent markers, and a few cotton T-shirts. (100% cotton works best.) To color a freehand design, stretch each shirt over a baking sheet. If you would rather make smaller circular designs, rubber band sections of T-shirt over the tops of plastic cups. (The rims will serve as a border for mandala-style designs, like the ones in those cool coloring books.)
Then, color with the Sharpies. Create an intricate design over as much of the shirt as possible. (You may want to work on this over a few days.) After the coloring is complete, lay each shirt flat. Gently saturate the shirt using droppers or sprayers full of denatured alcohol (available at hardware stores). Alcohol will cause the ink to spread out and blur, causing a cool tie-dye effect. The shirt will dry fast, and then is ready to wear! Shirts will fade some over time, so always wash in cold water.

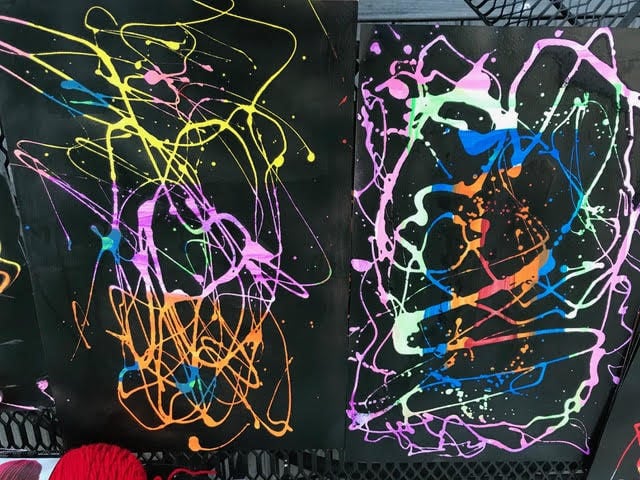
Soap Relief Tie-Dyeing Canvas
This craft creates some pretty cool-looking art for an older kid’s room or rec room. All you need for this craft are acrylic paint and brushes, prepared canvases (the kind you buy already stretched at a craft store), dish soap, black spray paint, and a hose. First, paint a canvas with bright colors of acrylic paint, being sure to cover the sides as well as the front. After the paint is dry, lay the papers flat on a tarp or newspaper and gently squeeze dish soap over them. Kids may want to write their names in cursive, or just create a crazy pattern. Next, without moving the canvases, coat them with black spray paint. Allow this layer of paint to dry completely. Then, use a hose to spray off the soap, then wipe down the canvases with a soft cloth to reveal the color under the soap! (This will work with other colors of spray paint, too, although the contrast will not be as intense.)
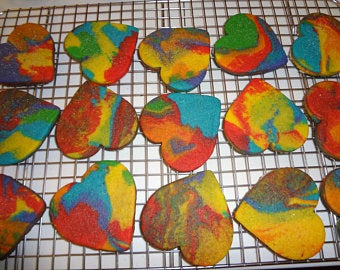
Tasty Tie-Dyed Treats
Gel food coloring gives these easy cookies intense color. Purchase a package of sugar cookie dough mix (not the premade kind in the tube). Prepare the dough as instructed, then divide the uncooked dough into four equal portions. Put each portion in a bowl and add gel food coloring to each bowl. Wear plastic food gloves and mix the dough until the color is worked in evenly. If the colors are not bright enough, add more dye. Chill the dough for 30 minutes. To make cookies, pinch off small amounts of each color and combine them to make 1”-balls. (Do not overwork the dough as you are putting it together, or you will end up with grayish cookies.) Bake according to package directions and allow the cookies to cool before eating.
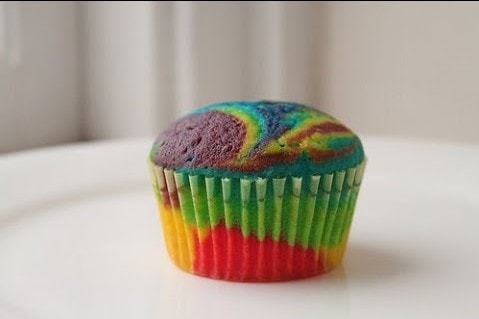
Note: You can also do this with cupcakes. Follow directions to prepare a white cake mix. Divide the batter into four bowls and color each with gel food coloring. Spoon a dollop of all four batter colors into each cupcake liner. Top with white frosting and sprinkles, of course!)
Rainbow Spin Art
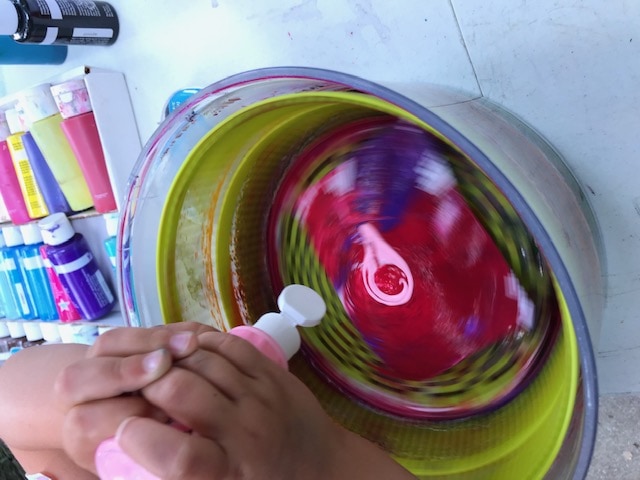
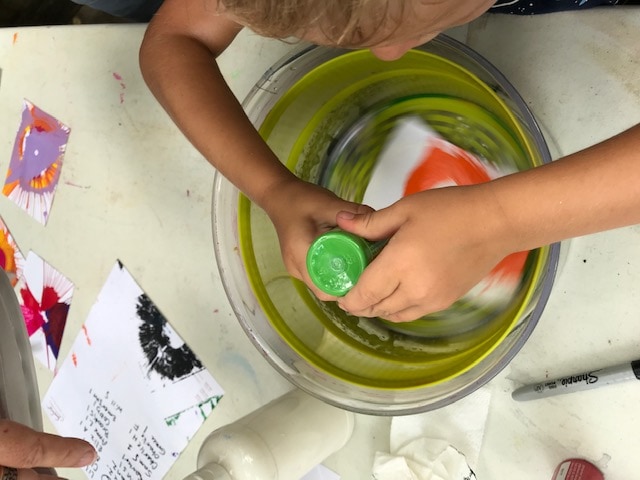
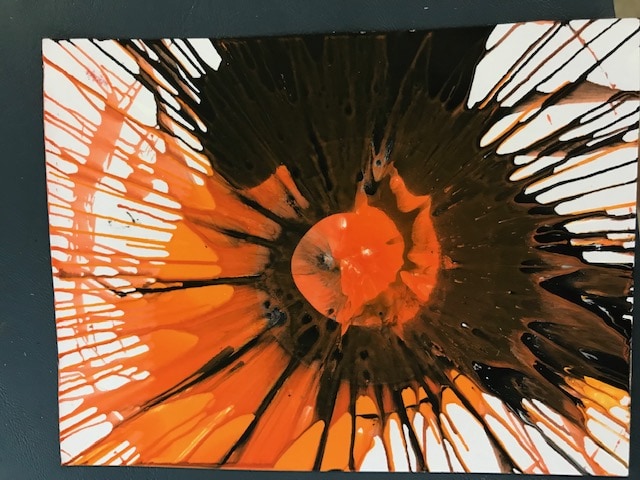
Who says you need to buy a spin art machine to make tie-dyed spin art? Cut white card stock into 4” x 6” sections. Tape a piece of card stock to the bottom of a salad spinner, so that the card stock is lying as flat as possible. Spin the spinner, remove the lid while the bowl is still spinning, and squeeze on a little paint. (Acrylic and tempera paints both work.) Add small amounts of different colors—3-4 usually works best. When you finish, stop the spinner and carefully remove the card stock. Allow it to dry flat.
Tips:
~ Consider adding a base layer of thinned white paint, since the other paint will spread out better over it.
~ Also, try to paint from dark to light, since any dark paint will cover up the lighter paint that is already there.
~ If you make a lot of these, collect them in a collage. We made one that is hanging in my kitchen.
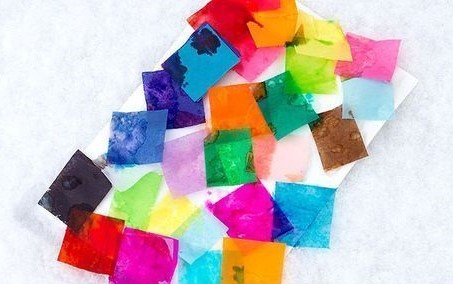
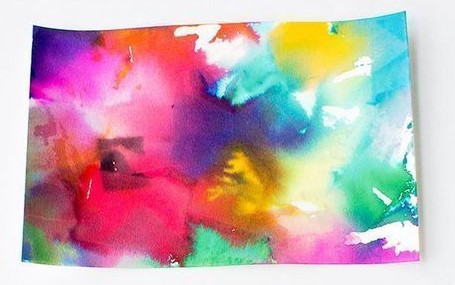
Tissue Paper Tie-Dye
Use the special, “bleeding” craft tissue paper (available at craft stores) for this project. Cut the tissue into squares or other shapes. Spray a piece of card stock or canvas lightly with water, then lay the tissue shapes on top. Then spray more water over the tissue to completely saturate it, then pat down firmly to help transfer the dye. After a few minutes, remove the paper to reveal the designs underneath. Allow the artwork to dry flat.

Visit these blogs for more summer fun ideas:
Summer Craft Idea: Have Fun with Paint!
Craft Idea: Jersey Knit Bracelets
Simple DIY Clothespin Crafts for Kids
5 Easy, Cute & Useful Crafts
For notifications on local events and happenings, subscribe to our free weekly newsletters here.