By Guest Blogger Sandy Harper, author of the blog Free Spirited Mom
It’s that time of year again when temperatures start to drop and the daylight gets shorter. Yet, there is no reason that you cannot still enjoy nature. Bring the beauty of the outdoors inside for the Thanksgiving holiday. Try these three nature crafts to keep the outdoor spirit alive in your home.
All three of these crafts require one important start. Go on a nature walk! Collect leaves, pinecones and any other nature treasure you find beautiful. Try to find different types of leaves: maple, oak, beech. You can print off a leaf identification guide to help (check Pinterest for free guides). Choose leaves that have recently fallen, that are not too dry. Once you collect all the pretty leaves, preserve them so they keep those bright colors and not crumple.
How to Preserve Leaves Easily
First, make sure leaves are clean and dry (to keep from molding).
Once dry, spread leaves out on a piece of cardstock. Then place another piece of cardstock on top of the leaves. You can continue layering if you have lots of leaves. Once all the leaves are in place, set heavy books on top. Let the leaves press for 12 to 24 hours. After pressing, paint the leaves with Mod Podge or watered down white glue. Paint one side, let dry and then do the same to the other side. It would be best to cover the surface of the area you are painting, because this step tends to be messy. When the leaves are dry you can proceed to write on them with markers or paint.
 Thanksgiving Placemats
Materials:
~ Preserved leaves
~ Card stock, construction paper or printer paper
~ Markers, crayons or colored pencils
~ Liquid glue
~ Stickers
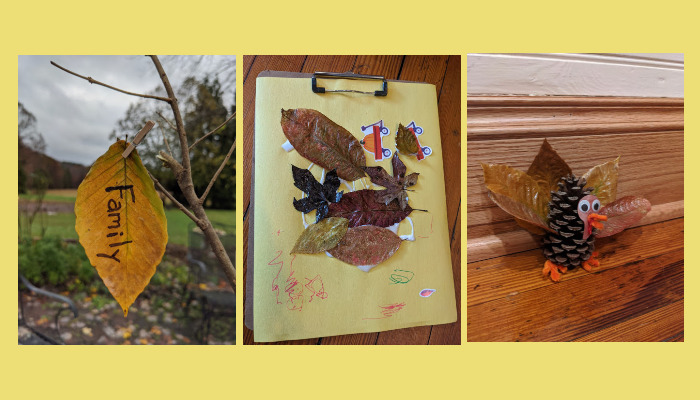
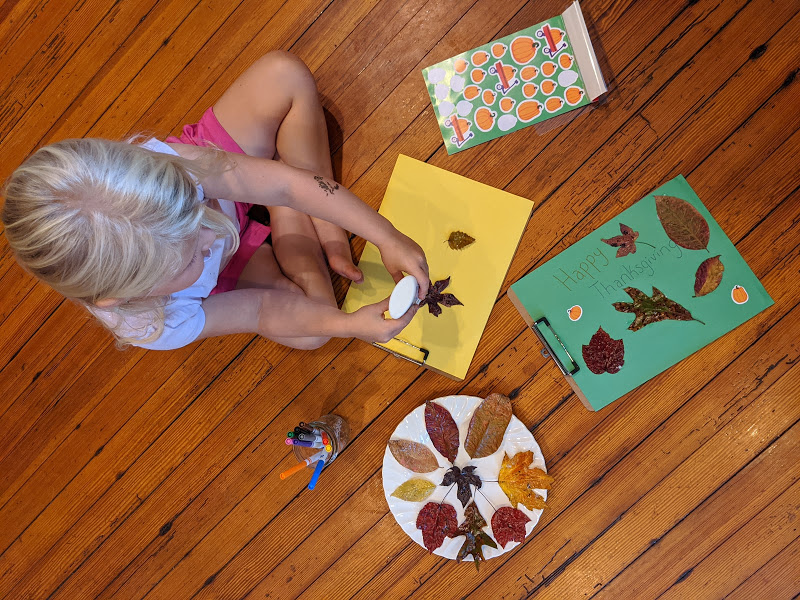
This craft is great for all ages! I set up my four year old and myself on the floor with all of our supplies. She is always excited when I give her different choices of decorating tools. Her first instinct is to put glue all over the paper, then place leaves. I personally like to fit the leaves on the paper and create a design before gluing them down. No matter your decorating technique each placemat will be beautifully unique.
Depending on the paper size you can slide the placemat in a plastic sheet protector or laminate it. This way it will last longer by protecting it from food stains or drink spills. These placemats will make for a fun new yearly tradition for your family’s Thanksgiving table or kid’s table.
 Pinecone Turkey
Materials:
~ Preserved leaves
~ Construction paper
~ Pinecone
~ Liquid glue that dries clear
~ Googly eyes
~ Pipe cleaner
~ Markers
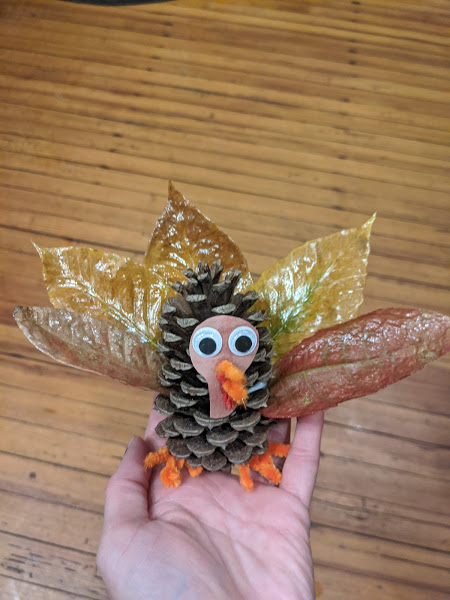
First, make sure the pinecone is completely dry. Wet or damp pinecones are more closed but as they dry they open up.
For the turkey feathers, use the colorful leaves you found on the nature walk or construction paper. If using construction paper, cut out a few (in different colors) feather shapes. Glue the feathers to the back of the pinecone in a fan shape. I did this by sticking the feathers into the gaps of the pinecone. Then I squeezed glue in front and back of each feather.
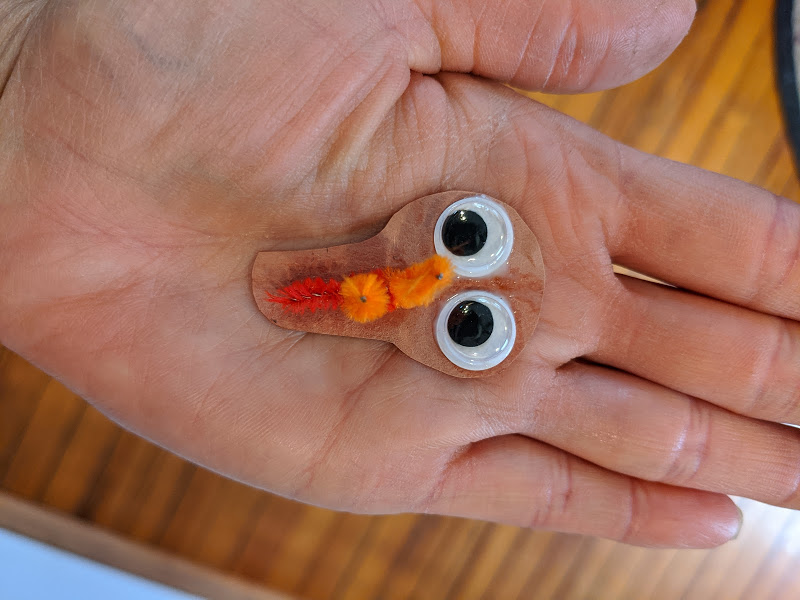
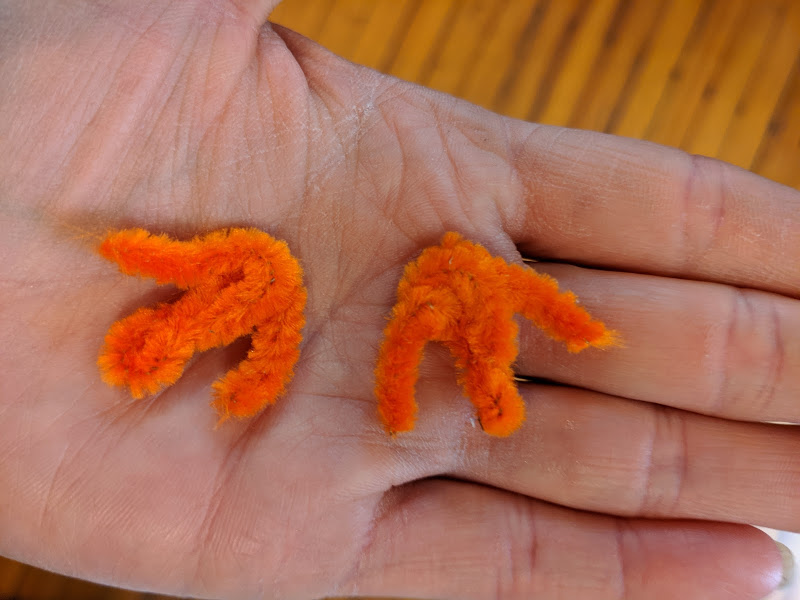
Cut out a turkey head and neck shape from construction paper. Glue on the googly eyes. For the beak and wattle, you can draw them on, cut them out of construction paper or use pipe cleaner. I chose pipe cleaner. This way is a bit trickier and takes longer to dry but I love the 3D effect. Lastly, cut off two pieces of orange pipe cleaner, about 2 inches long. Bend them into a W shape to look like turkey feet. Glue them to the bottom of the pinecone.
Helpful Tip: Allow the glue to dry between each step. I did the feathers first, then the face and lastly, the feet.
 Gratitude Tree
Material:
~ Bare branches or sticks
~ Vase
~ Pebbles/acorns/seashells
~ Preserved leaves
~ Decorative tape/small clothespins/pipe cleaner
~ Paint pen or fine tip Sharpies
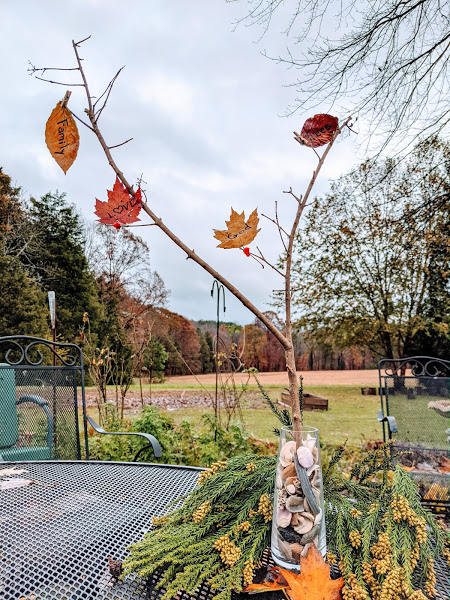
You can either use multiple sticks in a bunch or a branch with a few twigs coming off of it. Place your branch into a vase and fill the vase to keep the branch upright. You can fill it with pebbles, acorns or seashells.
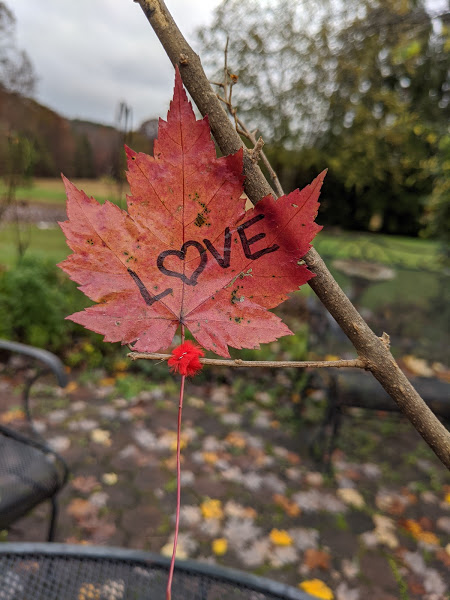
Once your Gratitude Tree is secure in the vase you can start adding leaves. I found it easier to write on the preserved leaves with a Sharpie or paint pen. I let all the kiddos say what they are thankful for and we wrote those words on the leaves.
There are multiple ways you can attach the leaves to the branch. Small clothespins (found at the Dollar Store) work well with leaves that don’t have a stem. For leaves that have stems, I used pieces of colorful pipe cleaner. You can also use decorative wasabi tape.
By adding a word a day (or two or three), your Gratitude Tree will be full of thankfulness come Thanksgiving Day. This tree will make for a beautiful center piece on a Thanksgiving table.

From the nature walk to the craft creating, make it a family adventure. Kiddos love finding nature treasures! Gluing the leaves down on the placemats and googly eyes to the pinecones, are big hits with little ones. Best of all, I love hearing what they want to add to the Gratitude Tree.
Give thanks, spend time with family and enjoy nature this holiday season!
For more crafty and educational ideas for kids, click here. Want to see more blogs like this and get notifications on local events and happenings? Subscribe to TMoM’s free weekly newsletters here.