By TMoM Team Member Dennette Bailey
This summer is a great opportunity to expose your preschooler to the world of writing. Do not be confused by the “let your child play” shift that may appear to convey that the act of learning is not fun and does not involve play. The goal here is to demonstrate to your child early on that the very act of learning is fun. This means use fun activities, as well as an enthusiastic attitude, when teaching your child. Part of this enthusiastic attitude means to not make a distinction between fun and learning. If we do not make a distinction between fun and learning early on, our children will not make such a distinction either. Thus, they will not believe that learning is not fun.
Below are helpful steps to get the process started.
Step 1- Get your child involved in creating their own writing center
You might even call this space their office! While you will suggest the activity or center, be sure to encourage your child to come up with the ideas for materials and the designs. When creating a writing center, or an office, ask your child what they might need in an office or writing center. They, of course, will come up with the typical paper, markers, pens, and pencils. Then, as the caregiver, you can suggest other materials to make the center or activity fun for them.
Step 2- Provide all the elements your child might not have thought of himself
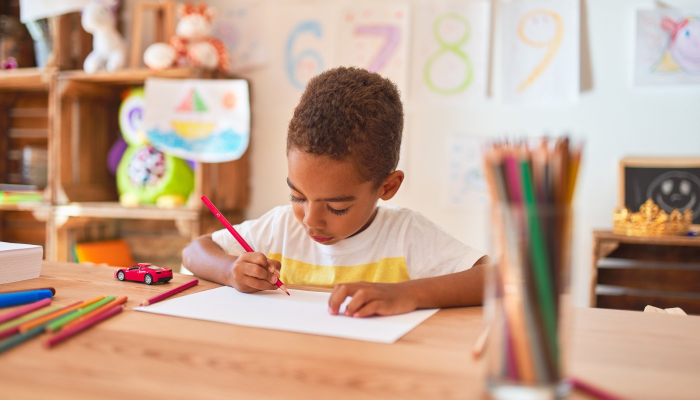
These might include various materials such as folders and folder holders to hold your child’s important writing work. Include stencils of letters, numbers and shapes because tracing is a great way to help your child learn to write. Include papers of different colors, blank and lined paper, and as well as paper of different weights (card stock, crepe etc.). Be sure to include metallic and neon crayons, and color pencils. You might also include a white board and white board markers. Also include little sticky notes and note pads. Children love writing on little pieces of paper.
I am also a fan of adding supplies to the writing center that remind the child of what they might see the adults in their lives using. For example, I include toy versions of telephones, fax machines, computers, laptops, iPads, and typewriters. You could also include doodle pros of different sizes. These allow your child to write on a surface without any mess (if you have that concern) and books about writing or that describe different types of writing, for example, hieroglyphics. I also include alphabet books, picture dictionaries and sand letters. If you have the space, consider including envelopes and stickers to use as stamps as well as a mailbox for sending letters.
It is also very important to provide a beautiful writing surface with seating and lots of colorful bins and holders to entice your child to explore the center.
Step 3- Engage your child in their new center
It can be as simple as making weekly requests of your youngster for such things as grocery lists, birthday or holiday lists or even a story of their own so that your child gets ideas on what their writing center can be used for.
Step 4 – Be a model for your child
Again, this can be very simple. Make a grocery list and leave it on your child’s desk and ask them to add 3 to 5 items to the list. Let your child see things you have written, or grab a couple of things an older child has written and leave it on your child’s desk so they might see that other people in the house are also using writing during their day.
If you follow these easy steps, your child will learn that writing is a normal part of their everyday life. Moreover, they will learn early, while you are still their greatest influence, that writing is fun. If you would like more ideas on creating a writing center watch my “How to Create a Writing Center” video here.
Want to see more blogs like this and get notifications on local events and happenings? Subscribe to TMoM’s free weekly newsletters here.