

Easy Easter Crafts for Kids to Make
By TMoM Team Member Michaela Reynolds
Spring is in full swing, and with Easter just around the corner, what better way to celebrate the season than by getting crafty with your kids? It’s time to dive into the world of colorful eggs, adorable bunnies, and joyful crafts that will fill your home with the spirit of Easter. From simple handprint bunnies to dazzling egg creations, we’ve gathered an egg-cellent collection of easy Easter crafts that are perfect for moms and kids alike. Let’s hop right into the fun and excitement of crafting together this Easter!
Easy Easter Bunny Crafts:
- Handprint crafts make the sweetest keepsakes. Trace your child’s hand and make an adorable Handprint Easter Bunny.
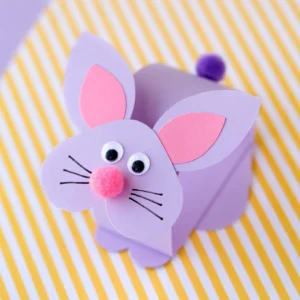
- Paper bobblehead bunnies are easy to make if you follow this tutorial. Kids will enjoy creating a bunch of bunnies to bounce around the house.
- Want to make a special card for grandparents? Look no further than this carrot card complete with a free printable template.

- Cute bunny artwork is just a few steps away if you use q-tips to paint a bunny scene!
- Make the morning fun with washcloths folded and tied into bunnies!
Easy Easter Egg Crafts:
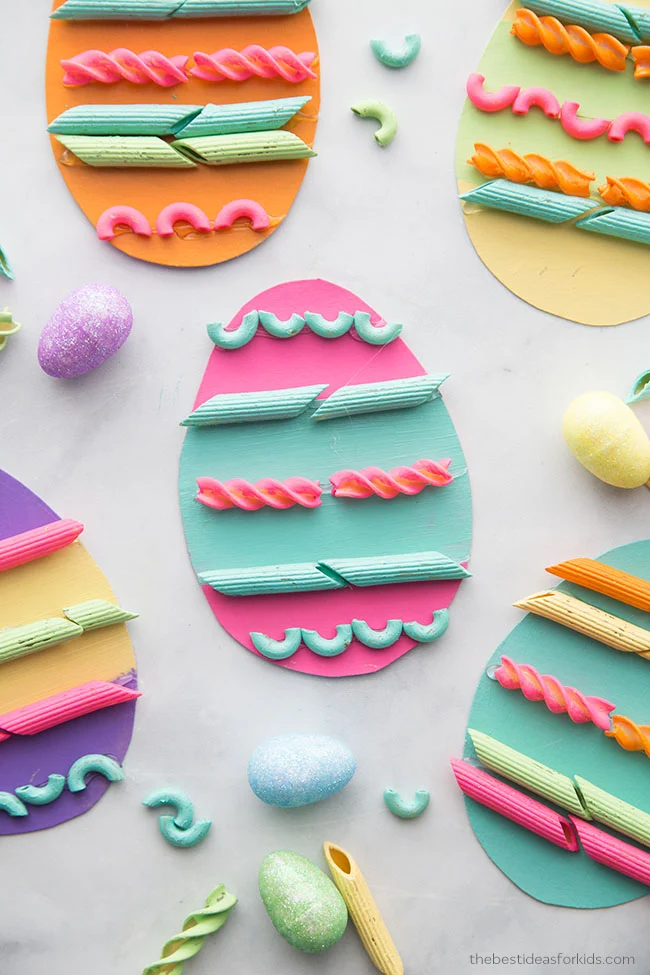
- Creating dazzling eggs is always a fun tradition–how about adding some pazazz to your paper eggs with painted pasta?
- Decorating large oval plates with stamps, paint, markers, or stickers is a super simple, yet fun craft!
- Making custom Resurrection eggs to retell the story of Jesus at Easter is easy and fun with this tutorial.
A Few More Easy Easter Crafts:
- Looking for a cute way to give out candy for Easter, while using recycled materials? Check out this Egg Carton Chick tutorial.
- Celebrate a few spring animals at once and make chick, bunny, and sheep bookmarks.
- Suncatchers are great with the days becoming longer. The sun can shine brightly through this stained-glass cross made from tissue paper and contact paper.
These easy Easter crafts are not only a delightful way to spend quality time with your kids but also a wonderful opportunity to embrace the spirit of the season. Whether you’re creating handprint bunnies, decorating eggs, or crafting adorable chick bookmarks, each activity is sure to bring smiles and cherished memories. So, gather your materials, unleash your creativity, and let the Easter crafting adventures begin! And once the crafts are complete, don’t forget to head out and enjoy the festivities at one of the Triad’s Easter Egg Hunts. Happy crafting and Happy Easter!
Want to see more blogs like this and also get notifications on local events and happenings? Subscribe to our free weekly newsletters here.