Gluten-Free and Soy-Free Desserts the Entire Family Will Love
By TMoM Team Member Sydney D. Richardson, Ph. D.
Summer is coming to an end, school has started, and everyone is back in their routines. However, the dessert fun is just beginning. My family loves desserts, but it can be difficult trying to find store-bought (or even restaurant-made) desserts that are gluten-free, soy-free, and delicious! The wrong brand of gluten-free flour can throw off a recipe in an instant. I have often looked up ingredients for some of my favorite desserts only to find an item that someone in my family cannot have. It’s frustrating, but that does not mean that there aren’t options. If you are looking for some gluten-free and soy-free dessert recipes that your family will enjoy, keep reading!
Gluten-free and Soy-free Chocolate Covered Strawberries
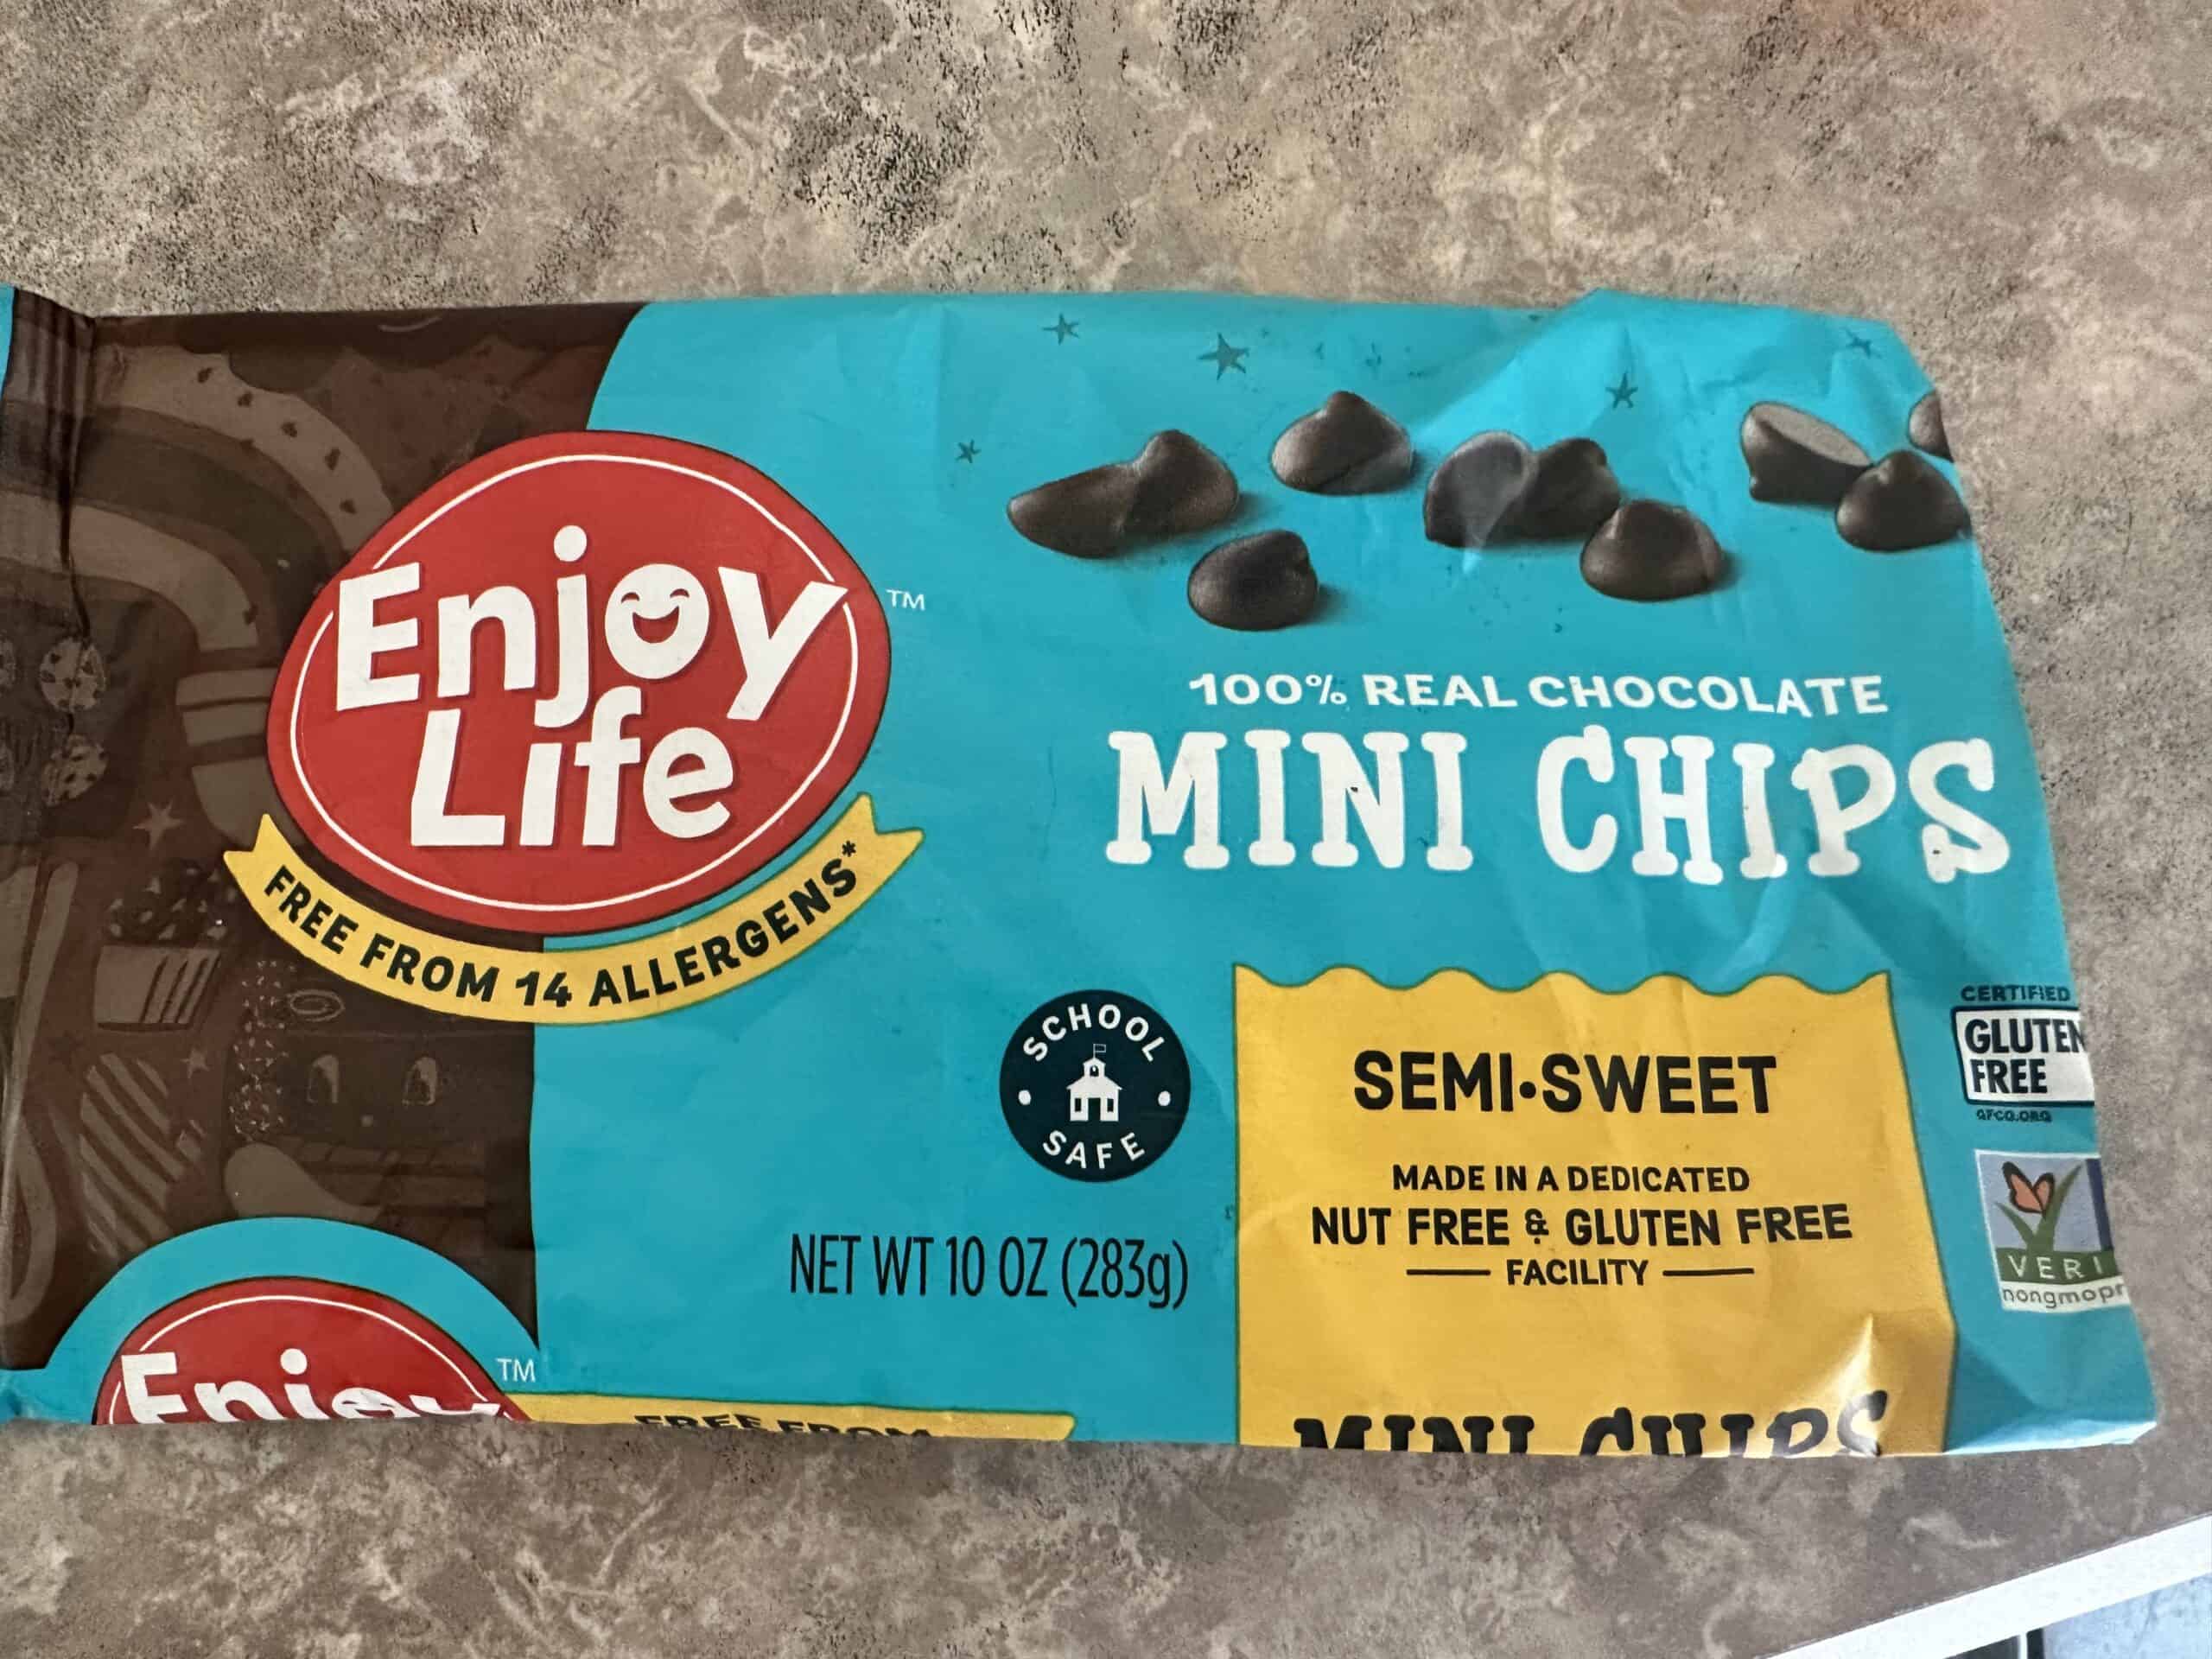
Chocolate covered strawberries are a family favorite in my household. Making them at home is even better because they require simple ingredients and not a lot of preservatives. Because of allergies, I use gluten-free and soy-free chocolate chips. These taste like a mix between milk chocolate and dark chocolate, which the kids really enjoy. If your family does not have allergies, feel free to use regular milk chocolate chips. This treat takes less than 30 minutes to make and the kids can take part in it and learn to make these as well.

Ingredients and Materials
- Stove
- Wooden spoon
- Double boiler: Fill a pot halfway with water. On top of the pot, place a glass bowl with the water barely touching the bottom of the bowl.
- 1-2 pounds of strawberries, washed and dried
- 1 bag of gluten-free and soy-free chocolate chips. If your family does not have this allergy, then regular chocolate chips will do.
Instructions
- Create a double boiler and place the chocolate chips into the glass dish.
- While the water gathers a rolling bowl, stir the chocolate chips until they are completely melted. *If the chocolate melts, but turns hard quickly, then turn the heat level down because the water is too hot and the chocolate is burning.
- Wash the strawberries and dry with a paper towel.
- Once the chocolate is melted, turn off the stove, but keep the double boiler on the burner so that the chocolate does not harden.
- Dip the strawberries into the chocolate, one by one, and place each strawberry on a parchment paper lined plate.
- Let the chocolate covered strawberries cool for about 15 minutes in the refrigerator (optional).
*As a side note, you can also dip the strawberries in white chocolate, a regular chocolate and white chocolate mix, or even caramel.

Gluten-free and Soy-free Sugar Cookies
Sugar cookies are a staple in my household and we make these at least once per week. Similar to the chocolate covered strawberries, this is a simple recipe that those with allergies (and without) can enjoy. Get the kids involved and they can even make these with minimal supervision.
Materials
- Stove (preheated to 325 degrees)
- Wooden spoon
- Medium sized bowl
- Spoon or melon scooper
- Parchment paper
- Baking sheet
Ingredients
- 1 stick of butter, melted – I use Great Value butter because it does not have soy in it. Be sure to check the butter ingredients.
- 1 cup of sugar
- ¼ tsp. of salt
- ½ tsp of xantham gum (you can get this from any grocery store)
- ½ tsp. orange extract (optional)
- ½ tsp. vanilla extract (optional)
- ½ tsp. baking powder
- 1 egg
- 1 ½ cups of gluten-free flour
Instructions
- First, preheat the oven to 325 degrees.
- In a bowl, cream all of the ingredients (minus the egg and flour) together until everything is well blended.
- Next, add the egg and gluten-free flour and blend again until everything is well mixed. Place the bowl into the refrigerator for 5-10 minutes so that everything forms well.
- Line a baking sheet with parchment paper. Take the bowl of cookie dough mixture out of the refrigerator and using a spoon or melon scooper, scoop a small amount of dough onto the parchment lined baked sheet. Each ball should be about 1-2 finger widths apart.
- Once the balls of dough are on the baking sheet, gently press each one down just a bit. *You don’t want it flat, but a bit spread out. The kids would have fun with this one.
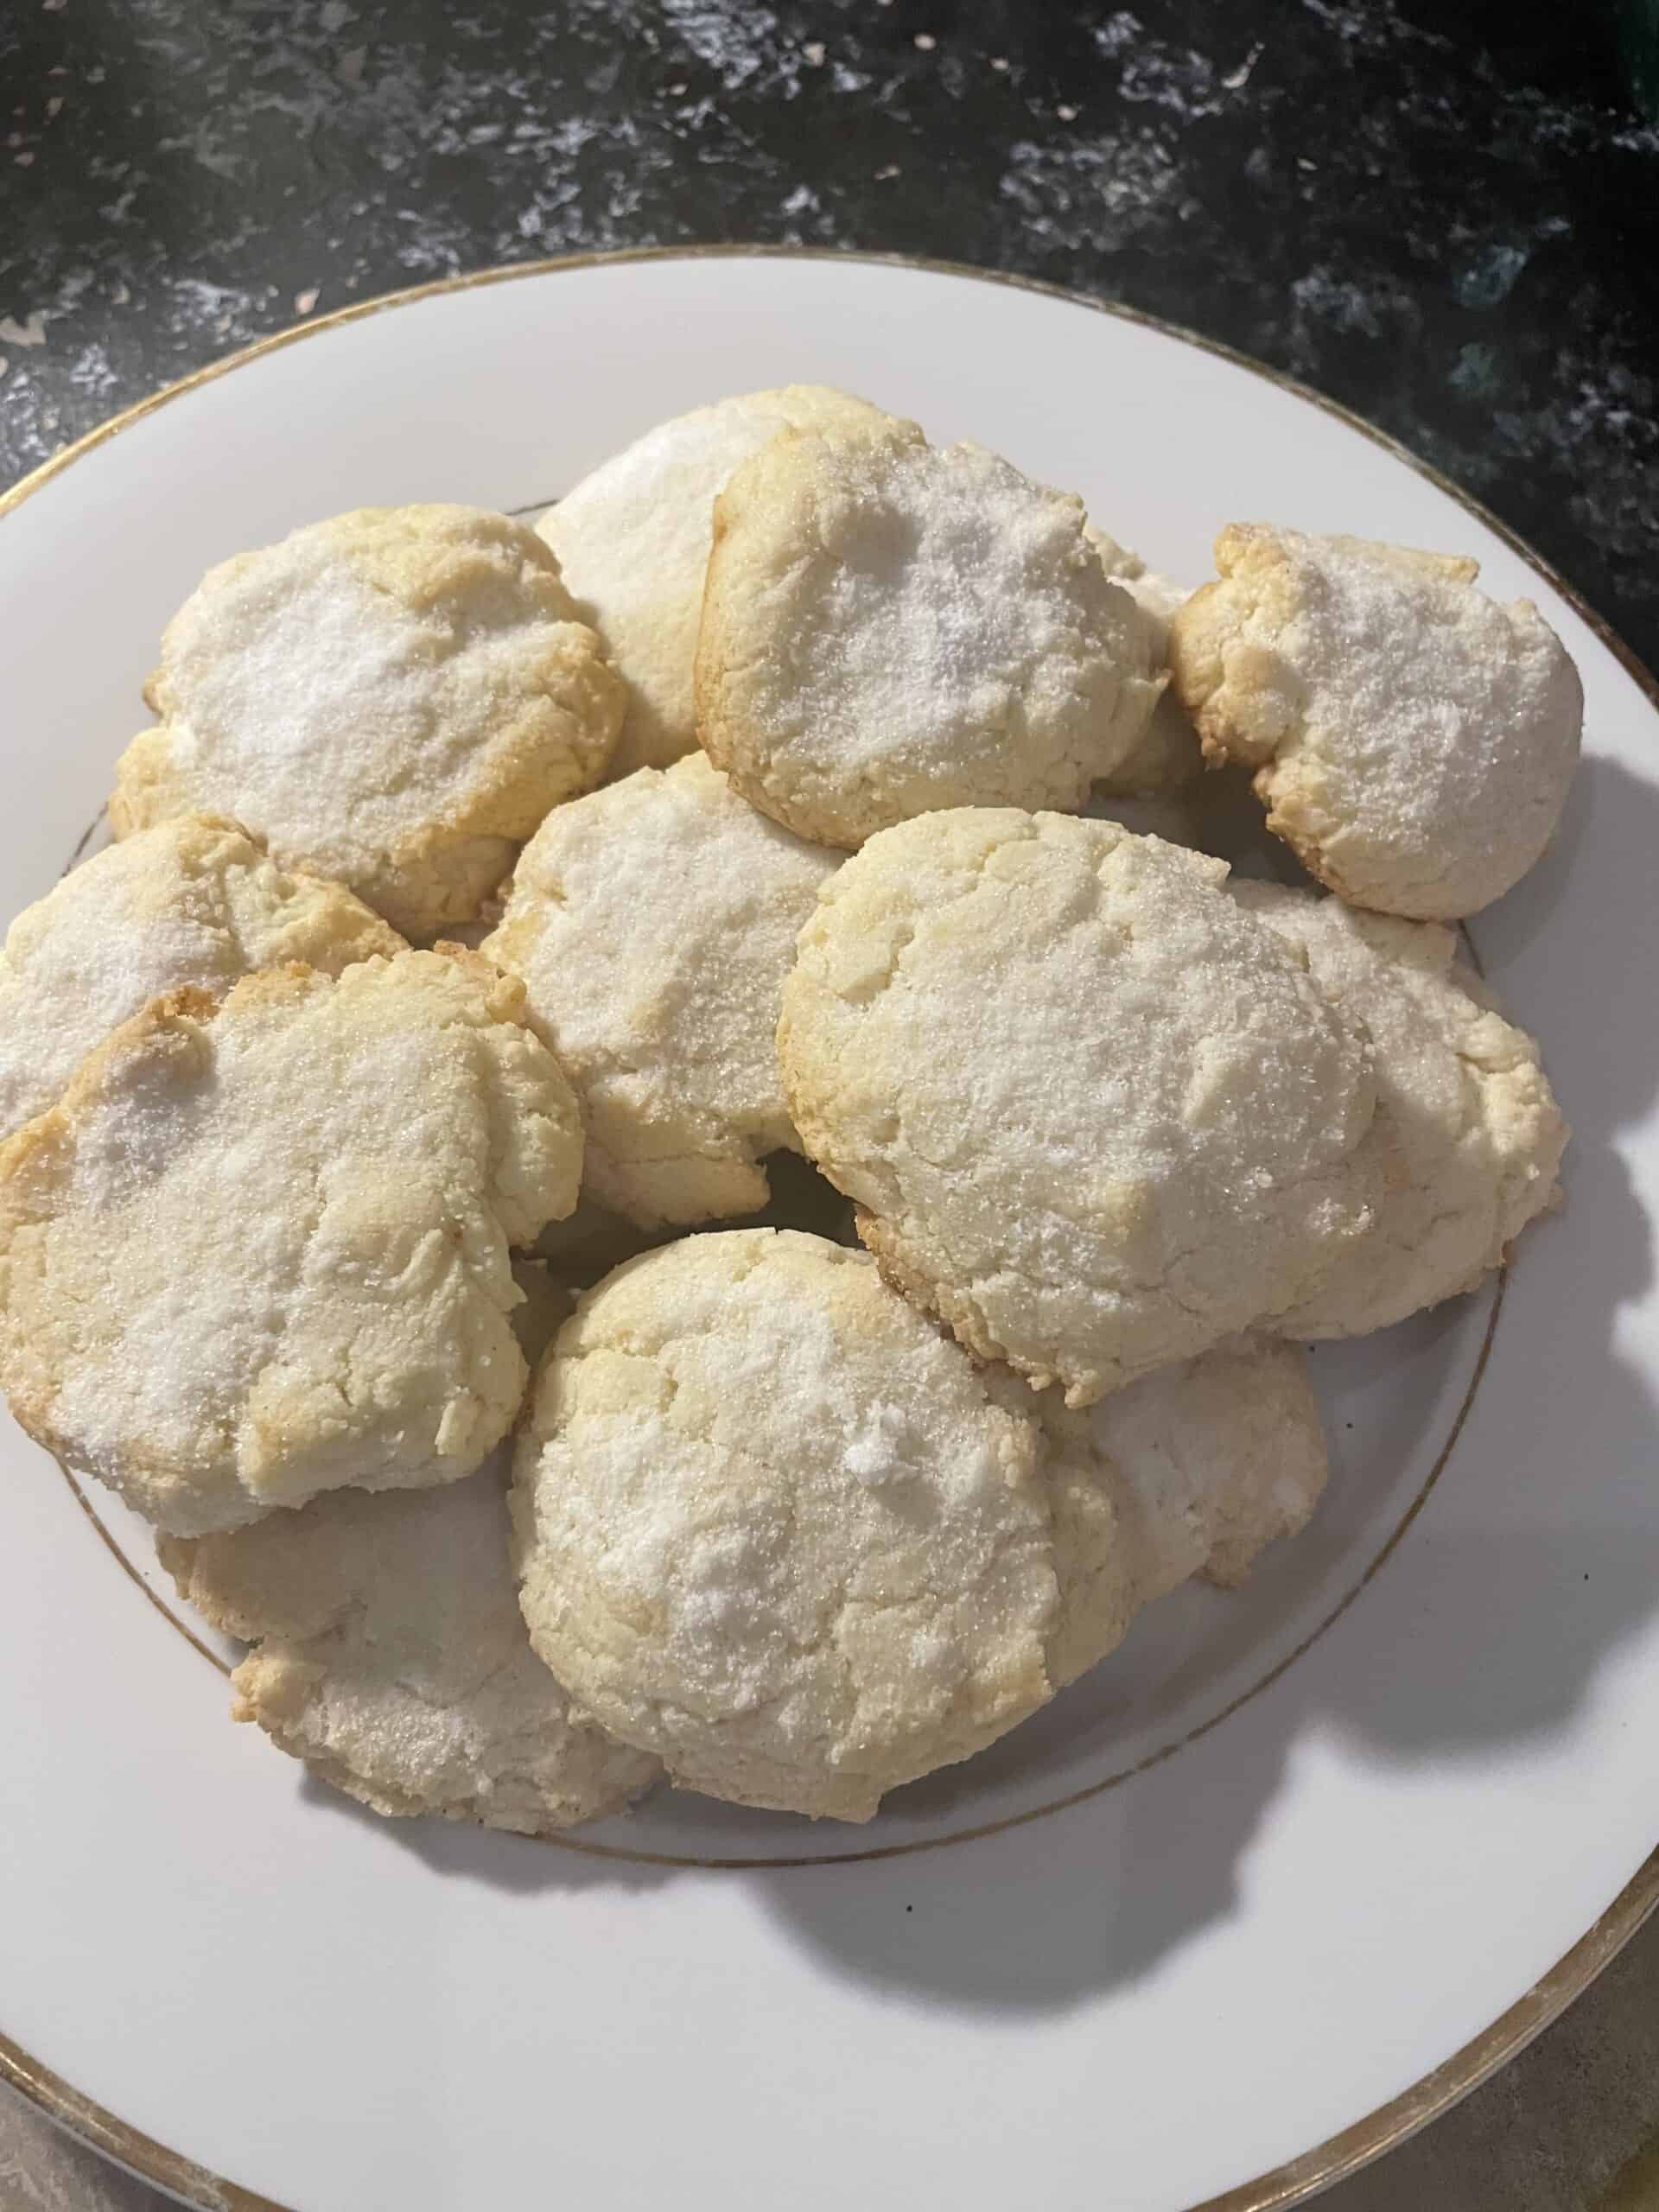
Finally, bake on 325 for 15-20 minutes. When they are done, dust them with powdered sugar and enjoy!! Want make your own powdered sugar? Look below.
**For regular sugar cookies, remove the xantham gun and replace the gluten-free flour with regular flour.

Homemade Powdered Sugar
Once I found out how to make this, I couldn’t believe that it was this simple. Try it out.
Materials
- Food processor or blender
- Measuring cups and spoon
Ingredients
- 1 cup of granulated sugar
- 5 tbsp. of cornstarch
Instructions
- In the food processor or blender, add the 1 cup of sugar and 1.5 tbsp. of cornstarch.
- Blend for 7-10 minutes to create the powdery substance.
Put the sugar in a secured plastic bag and refrigerate for up to 10 days.
These are fun and quick recipes that the entire family can enjoy. What’s more fun is that they don’t take a lot of time to make (usually 30 minutes or less). These recipes can be made before work, after work, and on the weekends, plus everyone can help out.
Want to see more blogs like this and also get notifications on local events and happenings? Subscribe to our free weekly newsletters here.
